Drawing a football starts with a balanced oval that tapers at both ends. Getting the curve right ensures the ball looks ready to spiral through the air. You will end up with a shaded, three-dimensional leather football.
The shape of a prolate spheroid
An American football is a prolate spheroid, which is an elongated sphere with pointed ends. The white laces are always on one side, used by the player to grip the ball during a throw.
What you need
- 2B graphite pencil
- 4B or 6B graphite pencil for the darkest shadows
- Blue col-erase pencil for the construction lines
- Kneaded eraser
- Cream or white drawing paper
The 8 steps
Light comes from the upper left in every step. Each picture shows the drawing as it should look when that step is done.

Step 1: Basic construction shapes
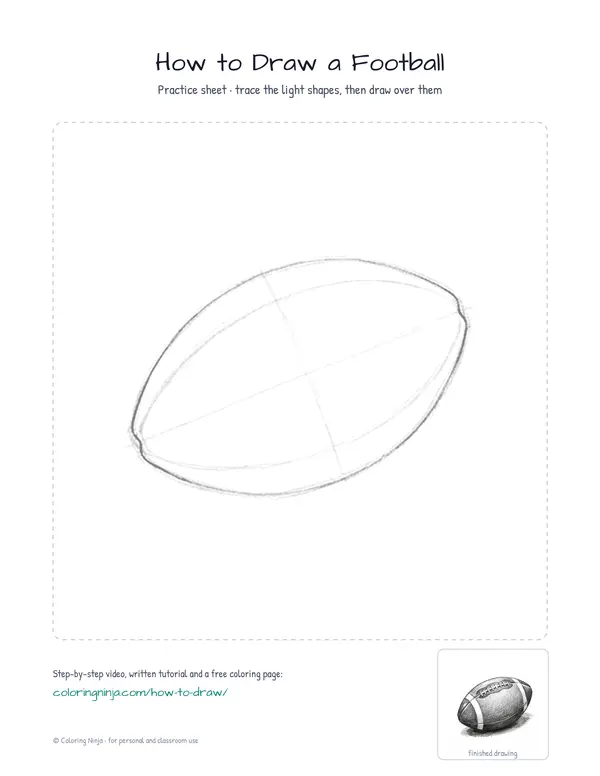
Use the blue col-erase pencil to draw a large, wide oval with a crosshair in the middle to keep it symmetrical.
Common mistake: Beginners often draw the oval too round like a circle; keep it long and stretched out.

Step 2: Point the ends
With the blue pencil, refine the ends of the oval so they come to a soft point rather than a curve.
Common mistake: Avoid making the points too sharp like a needle; they should remain slightly rounded.

Step 3: Define the outer contour
Switch to the 2B pencil and draw a firm line over your best blue lines. Add two vertical curved stripes near each point.
Common mistake: Do not press too hard yet, as you may still need to adjust the symmetry of the curves.

Step 4: Draw the laces
Using the 2B pencil, draw the long lace panel on the upper curve and add eight short horizontal lines across it.
Common mistake: Beginners often put the laces right on the center line; place them slightly higher to show the ball is tilted.

Step 5: Add leather texture
Use the 2B pencil to add tiny dots across the leather sections to represent the pebbled grip texture.
Common mistake: Do not draw too many dots or they will look like dirt; keep them light and spaced out.

Step 6: Block in shadows
Switch to the 4B pencil and shade the bottom and right side of the ball, leaving the top left white.
Common mistake: Avoid shading the white stripes or the laces; keep those areas bright for now.

Step 7: Deepen the darks
Use the 6B pencil to darken the very bottom edge and draw a flat, dark oval on the ground beneath the ball.
Common mistake: If the cast shadow is too large, the ball will look like it is floating too high.

Step 8: Lift the highlights
Use the kneaded eraser to dab away graphite on the top left curve and the tops of the laces to show light.
Common mistake: Do not rub with the eraser or you will smudge the texture; press and lift straight up.
What makes it look right
- Keep your 2B pencil sharp to ensure the laces look crisp against the shaded leather.
- Follow the curve of the ball when drawing the end stripes to make the object look round.
- Vary the pressure of your 4B pencil to create a smooth transition from light to dark.
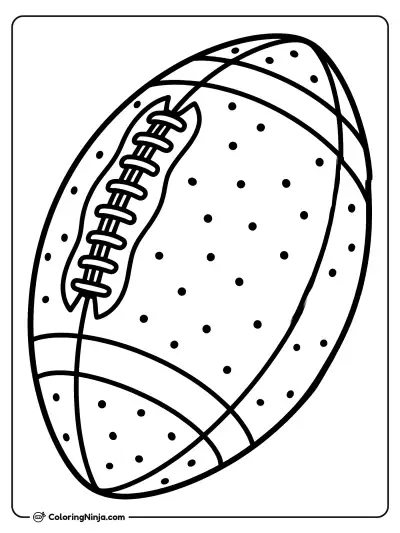
Get the finished coloring page
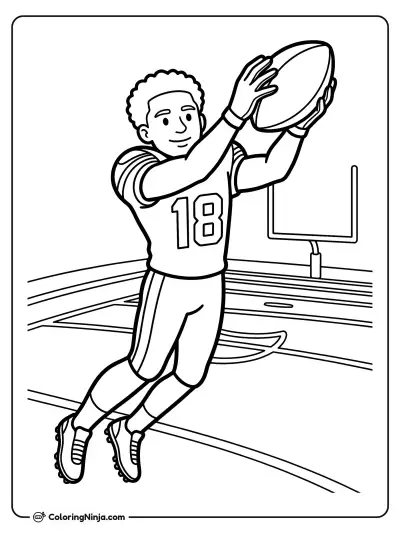
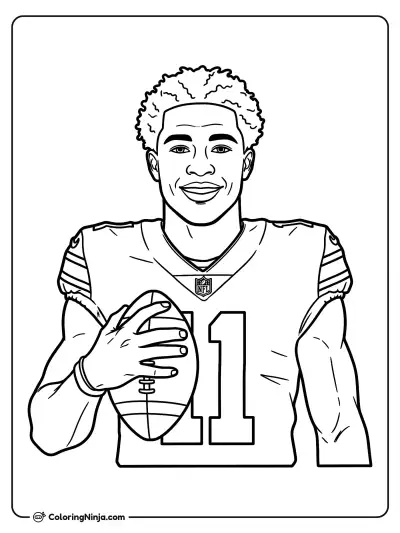
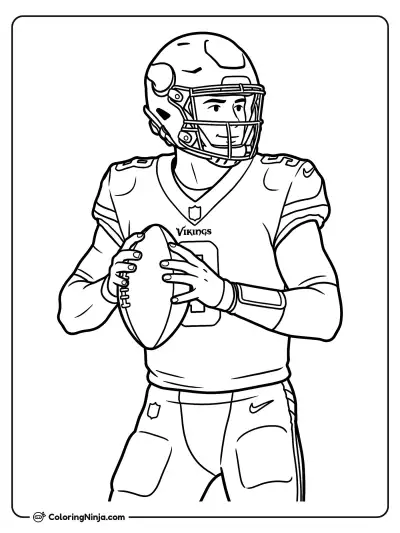
The clean outline from step 5, ready to print and colour.
View the coloring pageThe whole lesson on one sheet
All 8 steps with their captions on one page. Print it and keep it next to your paper.

The football now has the weight and texture needed for a sports illustration. Try drawing the ball at a diagonal angle to show it in flight.