Drawing a castle begins with simple blocks to establish the height of the towers. It is easy to make the towers lean, so focus on keeping your vertical lines straight. You will finish with a solid stone fortress complete with shadows and a heavy gate.
The teeth on the stone walls
Medieval castles were built with thick stone walls and high towers to see enemies from a distance. The square gaps at the top are called crenellations, which protected the people inside during a battle.
What you need
- HB pencil for the construction lines
- 0.3 mm black fineliner
- 0.8 mm black fineliner
- Black brush pen for the darkest accents
- Eraser
- Smooth white paper
The 9 steps
Light comes from the upper left in every step. Each picture shows the drawing as it should look when that step is done.
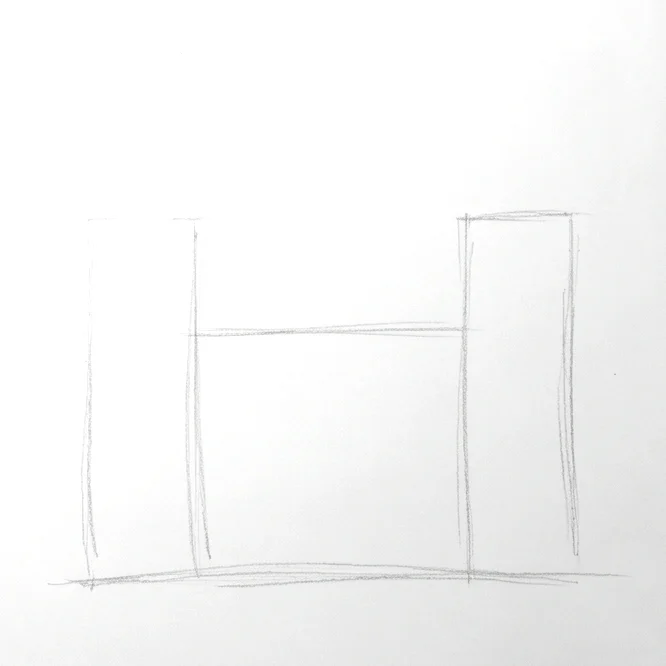
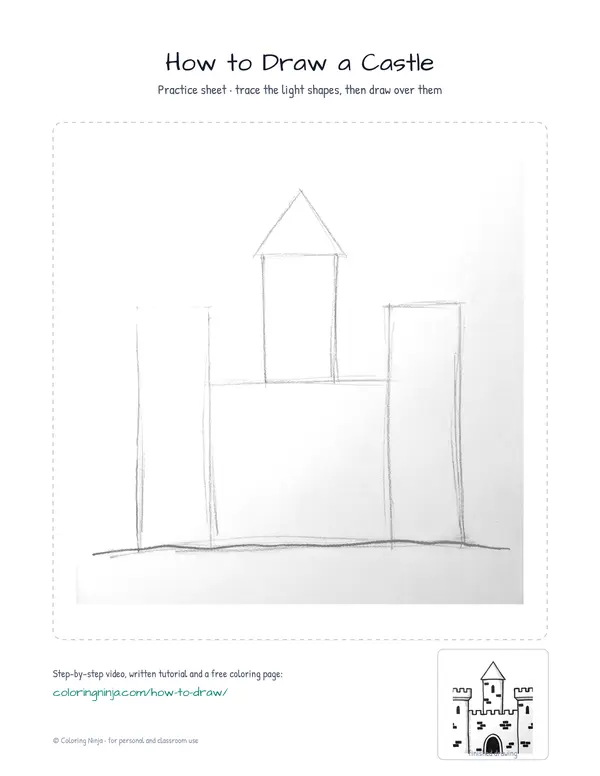
Step 1: Base shapes
Sketch a wide rectangle and two tall side towers using light pressure with the HB pencil.
Common mistake: Avoid pressing too hard or the lines will be difficult to erase later.

Step 2: Central tower
Draw a taller rectangle in the center and add a triangle roof on top with the HB pencil.
Common mistake: Do not make the central tower too short or it will get lost behind the front wall.
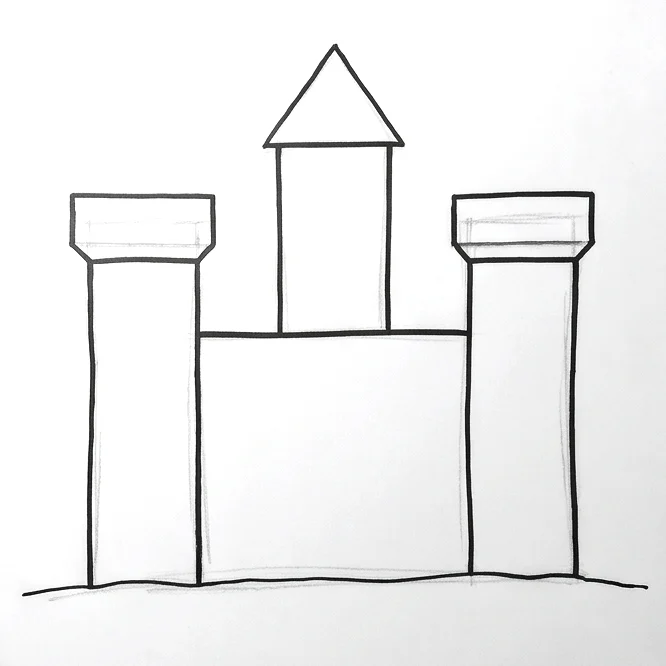
Step 3: Outer contour
Trace the main outside edges of the castle using the 0.8 fineliner.
Common mistake: Do not trace the overlapping lines where the towers meet the walls.

Step 4: Wall battlements
Use the 0.8 fineliner to draw square notches across the top of every wall.
Common mistake: Try to make the notches even in size so the wall looks solid.

Step 5: Gate and windows
Draw a large arched doorway and small rectangular windows using the 0.3 fineliner.
Common mistake: Avoid making the windows too large or the castle will look small.

Step 6: Stone texture
Draw small rectangular stone patterns on the walls with the 0.3 fineliner.
Common mistake: Do not draw every single stone or the drawing will look too busy.

Step 7: Shadow blocks
Use the 0.3 fineliner to draw vertical hatching lines on the right side of all structures.
Common mistake: Keep all hatching lines going in the same direction to show consistent lighting.

Step 8: Deep shadows
Create darker tones by adding horizontal lines over the right-side shadows with the 0.3 fineliner.
Common mistake: Do not fill the area completely black yet so the texture remains visible.

Step 9: Solid blacks
Fill the windows and gate with the brush pen and erase the HB pencil lines.
Common mistake: Wait for the ink to dry completely before erasing to avoid smudging.
What makes it look right
- Keep your vertical lines parallel to the edge of the paper to prevent the castle from leaning.
- Use a ruler for the long straight wall lines if you find it difficult to draw them freehand.
- Vary the placement of the stone textures so they look natural rather than like a grid.
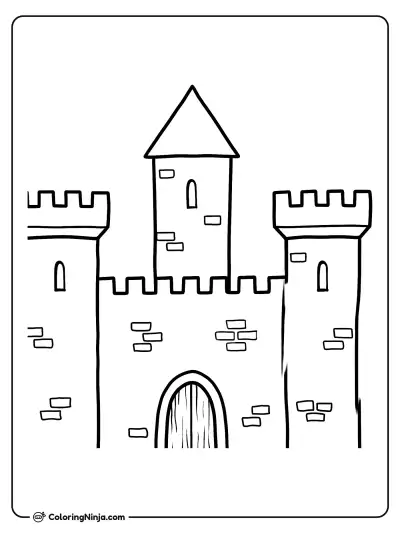
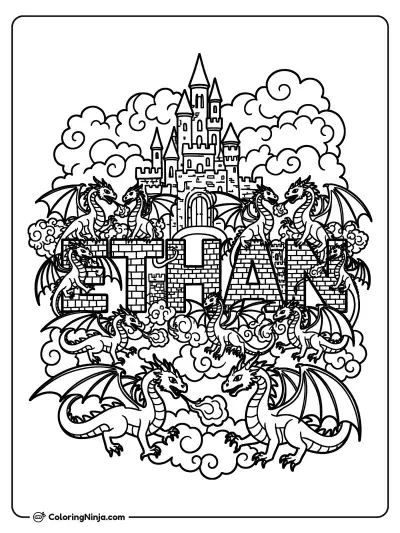
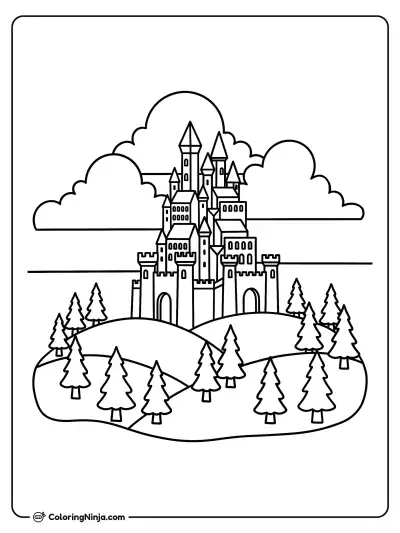
Get the finished coloring page
The clean outline from step 6, ready to print and colour.
View the coloring pageThe whole lesson on one sheet
All 9 steps with their captions on one page. Print it and keep it next to your paper.

The castle is now complete with its heavy stone walls and deep shadows. Try drawing a long winding path leading up to the gate.