Drawing a book starts with understanding how parallel lines create volume. A common mistake is making the pages look like a solid block without any layers. You will end up with a thick hardcover book resting on a flat surface.
The secret to a thick hardcover
A hardcover book has a spine that connects the front and back covers. The pages inside are slightly smaller than the cover to protect the paper edges from wear.
What you need
- 2B graphite pencil
- 4B or 6B graphite pencil for the darkest shadows
- Blue col-erase pencil for the construction lines
- Kneaded eraser
- Cream or white drawing paper
The 8 steps
Light comes from the upper left in every step. Each picture shows the drawing as it should look when that step is done.

Step 1: Top cover rectangle
Use the blue col-erase pencil to draw a tilted rectangle for the top cover of the book.
Common mistake: Beginners often draw a perfect rectangle; tilt the side lines to show the book is lying flat.

Step 2: Vertical height lines
Draw three short vertical lines down from the corners with the blue col-erase pencil to show thickness.
Common mistake: If these lines are different lengths, the book will look warped; keep them consistent.

Step 3: Bottom edge lines
Connect the bottom of the vertical lines using the blue col-erase pencil to finish the basic box shape.
Common mistake: Do not make the bottom lines horizontal; they must match the slant of the top lines.

Step 4: Hardcover outline
Switch to the 2B pencil and outline the top cover and the spine, rounding the corner on the left.
Common mistake: Avoid making the spine corner sharp; a real book spine is usually slightly curved.

Step 5: Page stack details
Use the 2B pencil to draw lines just inside the cover edges to represent the stack of pages.
Common mistake: If you forget the overhang, the book will look like a solid block of wood instead of paper.

Step 6: Shadow side block-in
Switch to the 4B pencil and shade the right side and the front page area to create depth.
Common mistake: Pressing too hard here makes it difficult to add darker details later; keep this tone even.

Step 7: Cast shadow and darks
Use the 6B pencil to add a dark line at the base and a cast shadow on the table.
Common mistake: Do not forget the cast shadow, or the book will look like it is floating in the air.

Step 8: Highlights and cleanup
Lift graphite from the top surfaces with the kneaded eraser to create bright highlights.
Common mistake: Avoid erasing the outlines; only lift the shading from the areas facing the light source.
What makes it look right
- Keep the vertical lines perfectly straight up and down so the book does not look like it is leaning.
- Draw the page lines very lightly to suggest a stack of paper without drawing every single page.
- Ensure the lines for the top and bottom of the book are parallel to maintain the correct perspective.
Get the finished coloring page
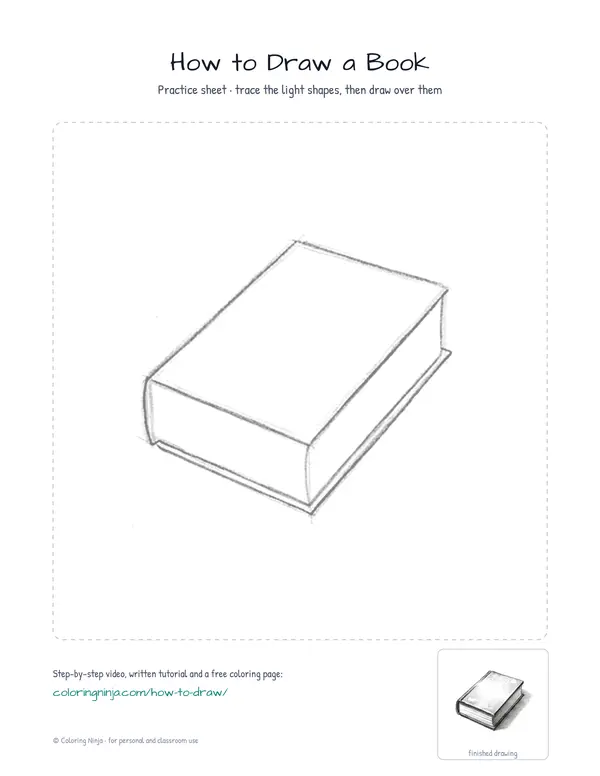
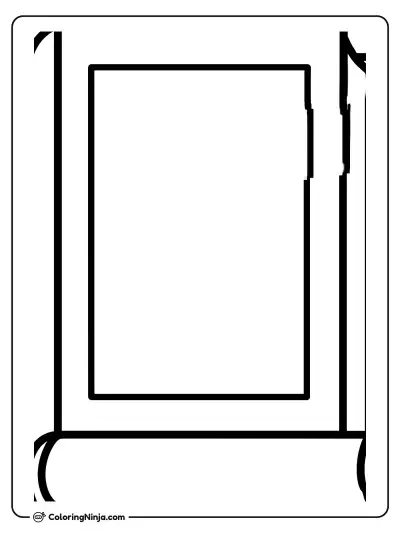
The clean outline from step 5, ready to print and colour.
View the coloring pageThe whole lesson on one sheet
All 8 steps with their captions on one page. Print it and keep it next to your paper.

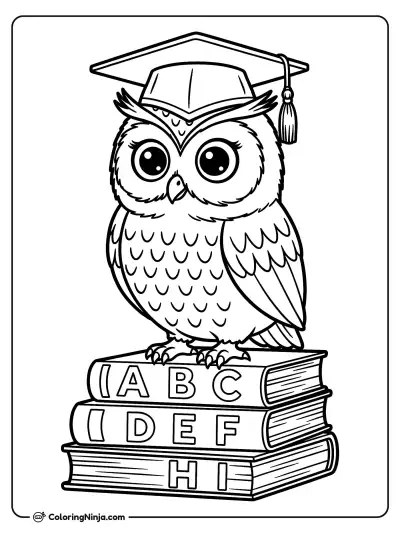
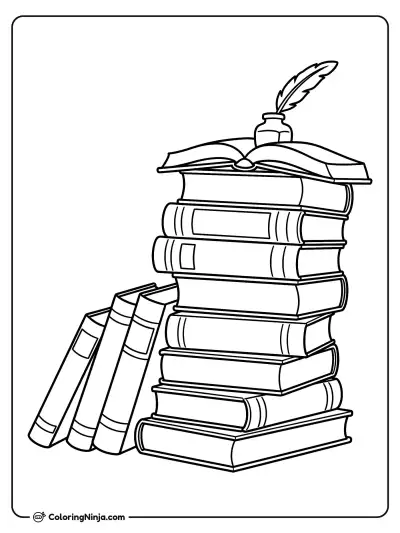
The book now has weight and volume thanks to the shading and the cover overhang. Practice drawing a stack of three books by repeating these steps on top of each other.