Drawing a basketball requires turning a flat circle into a three-dimensional sphere. The key is how the black seams curve around the rounded surface. You will end up with a realistic ball that looks heavy and ready to bounce.
The secret to the bouncing sphere
A basketball has a specific pattern of four black lines called seams that divide it into eight panels. The surface is covered in thousands of tiny raised dots called pebbles to help players grip the ball during a game.
What you need
- 2B graphite pencil
- 4B or 6B graphite pencil for the darkest shadows
- Blue col-erase pencil for the construction lines
- Kneaded eraser
- Cream or white drawing paper
The 8 steps
Light comes from the upper left in every step. Each picture shows the drawing as it should look when that step is done.

Step 1: Draw a circle
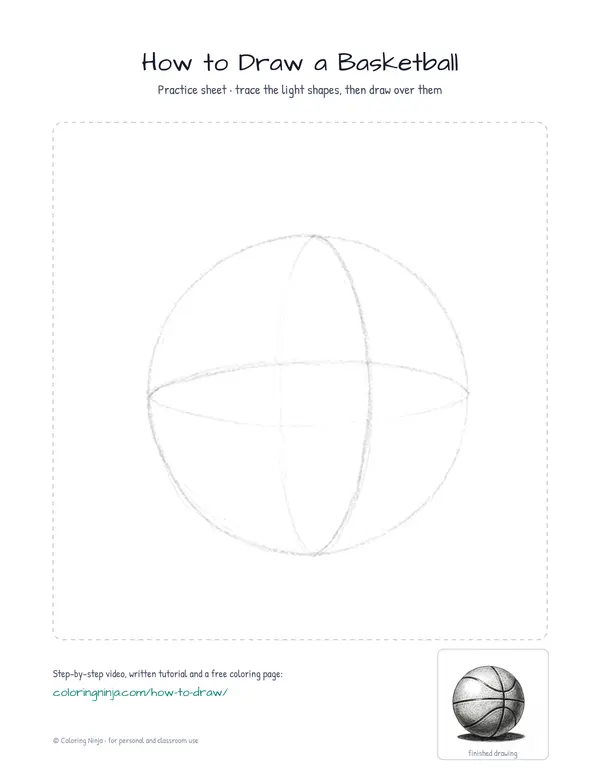
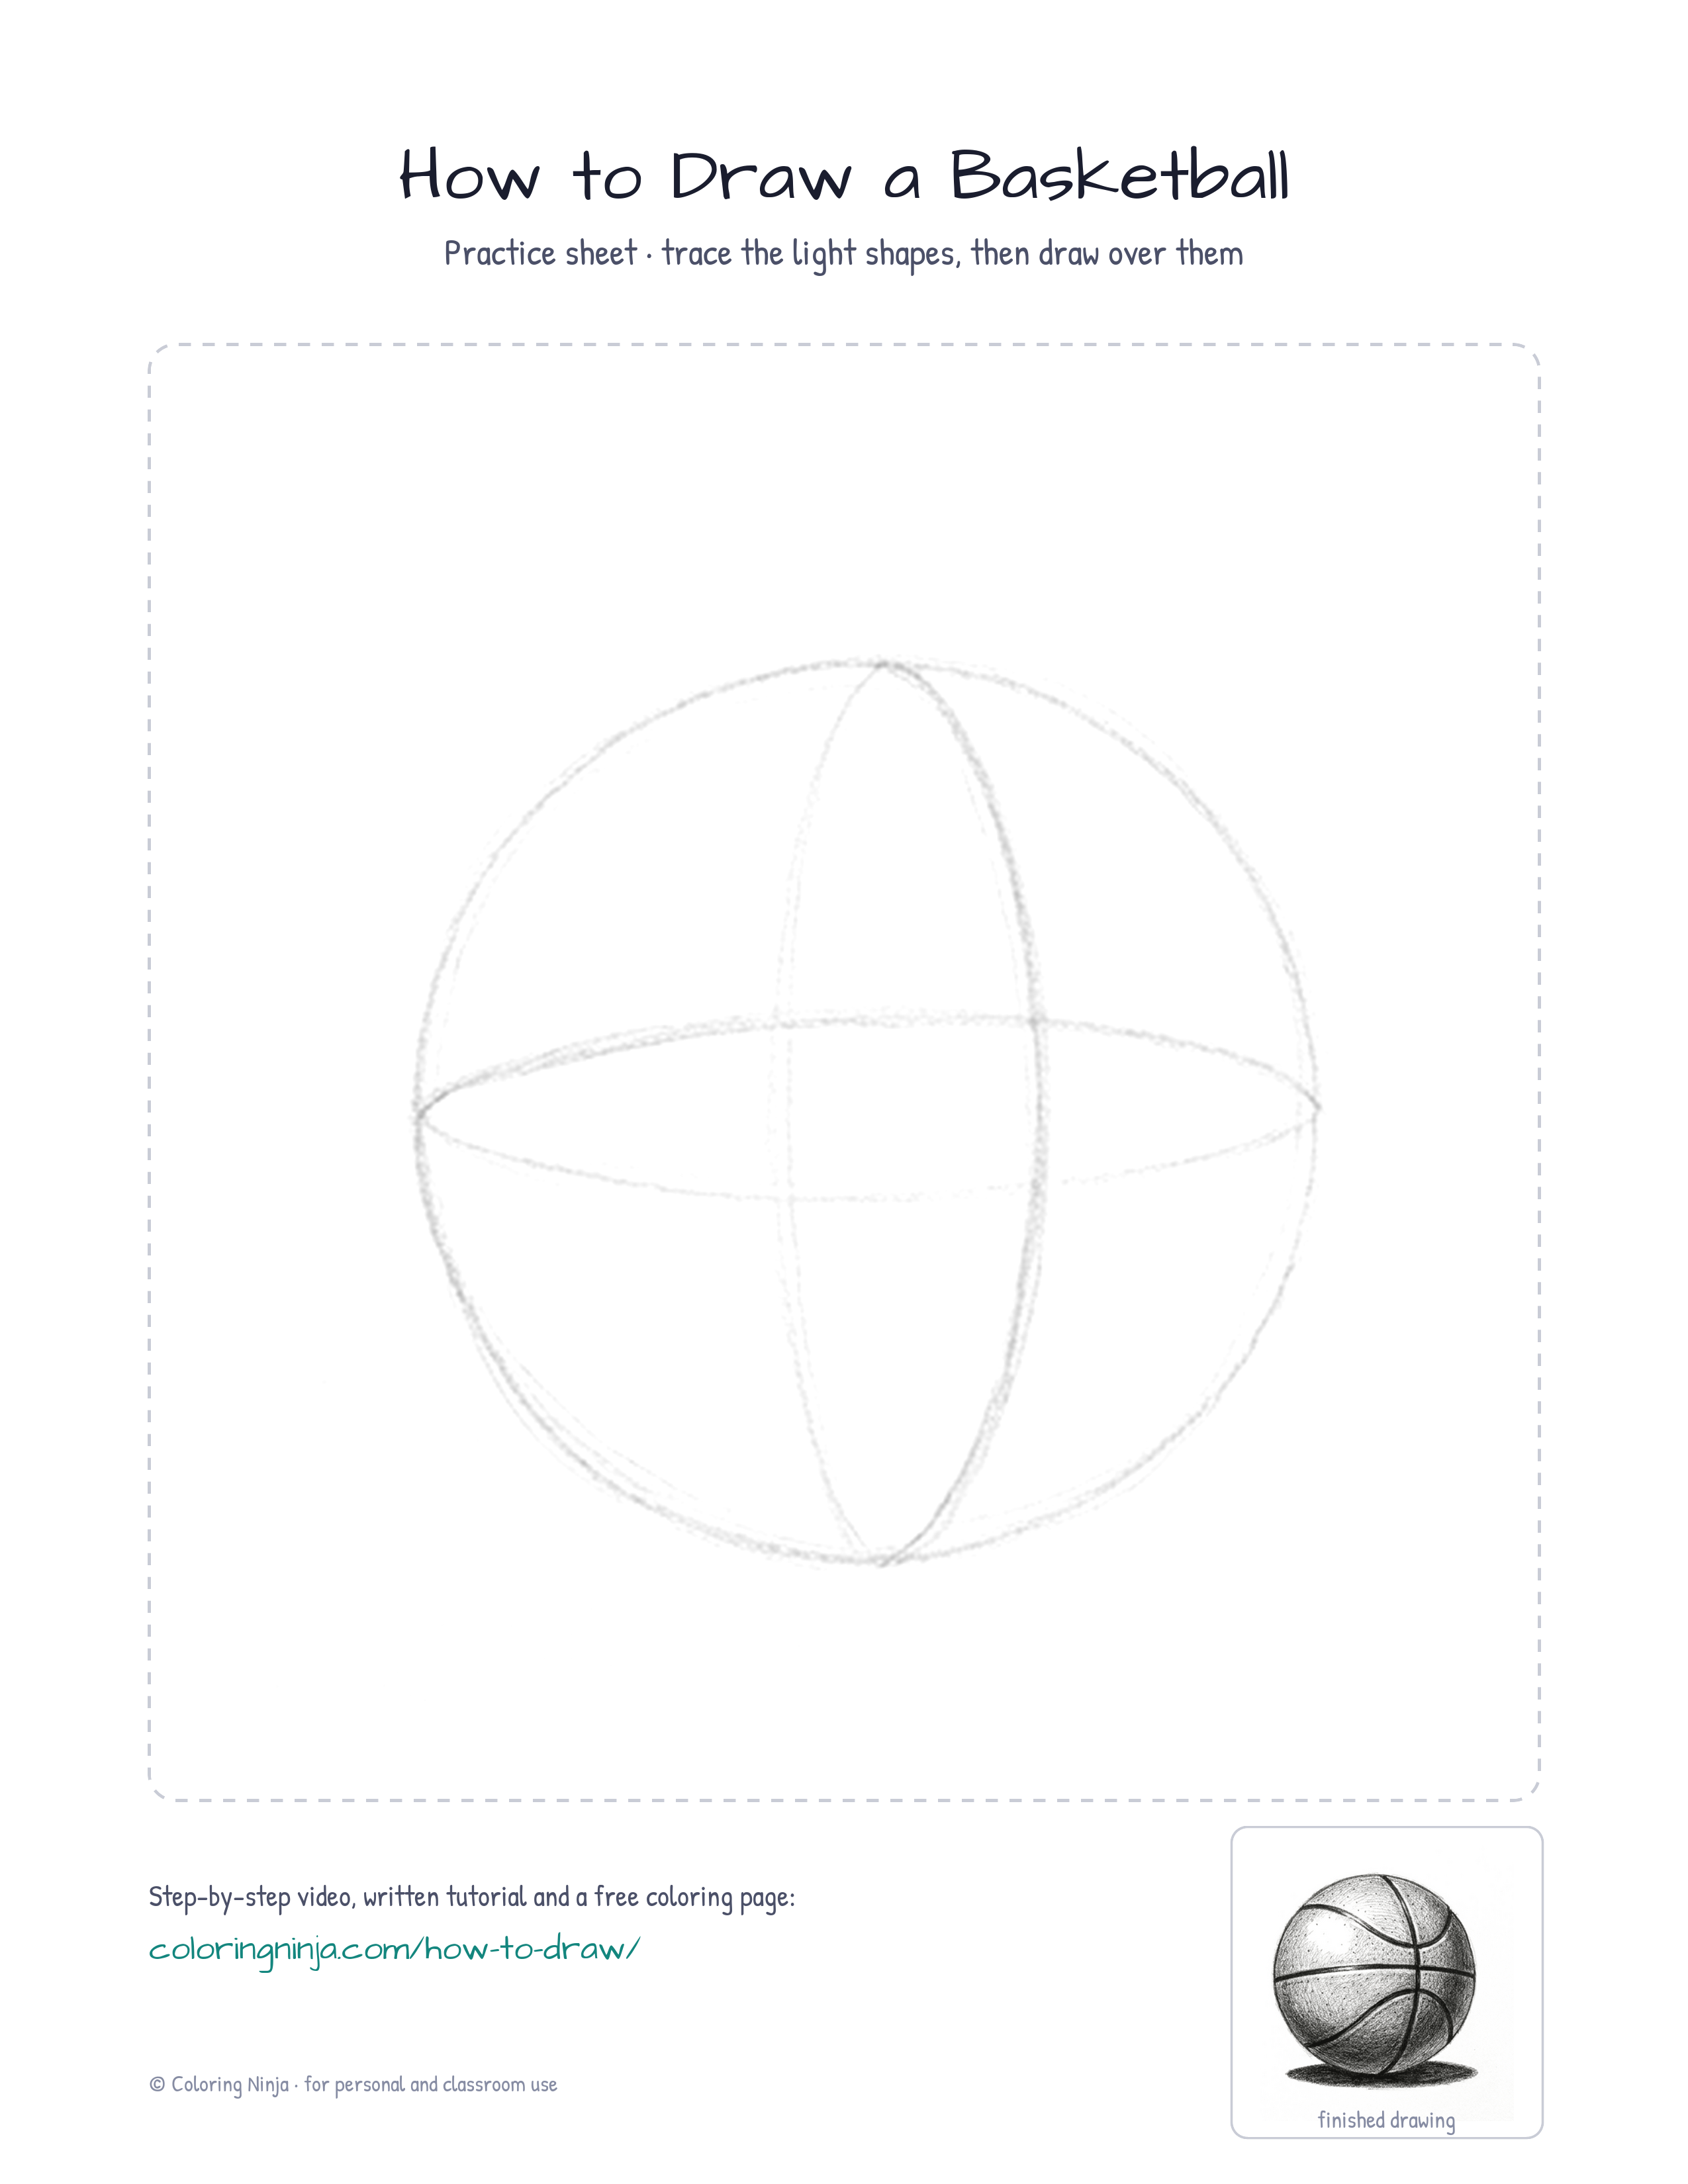
Use the blue col-erase pencil to draw a large, light circle that fills most of your paper.
Common mistake: Drawing the circle too small makes it difficult to add the details and texture later.

Step 2: Add axis lines
Still with the blue pencil, draw one vertical and one horizontal curve to show the roundness of the ball.
Common mistake: Drawing straight lines instead of curves will make the ball look like a flat disk instead of a sphere.
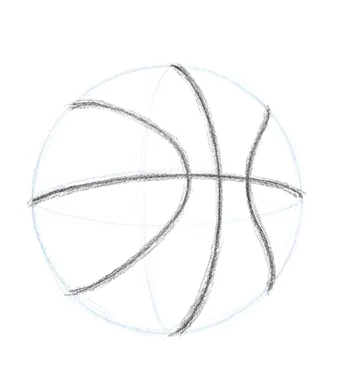
Step 3: Main seam lines
Switch to the 2B pencil and draw the main vertical and horizontal seams following your blue guides.
Common mistake: Pressing too hard with the 2B pencil makes it difficult to correct the curves if they are not symmetrical.
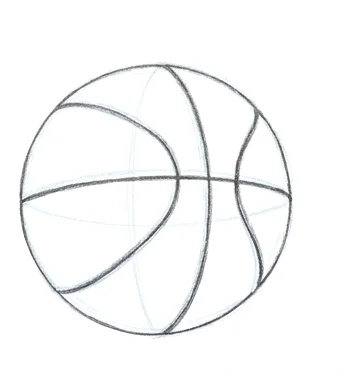
Step 4: Side seam curves
Use the 2B pencil to draw two large C-shapes that curve away from the center vertical line toward the edges.
Common mistake: Making these side lines touch the outer edge of the circle too soon ruins the illusion of volume.

Step 5: Surface texture
With the 2B pencil, add small dots to represent the pebble texture, placing more dots near the seams.
Common mistake: Drawing the dots too large or in straight rows looks unnatural; keep them small and random.

Step 6: Block in shadows
Switch to the 4B pencil and shade the right side and the bottom of the ball, leaving the top left white.
Common mistake: Shading the entire ball with the same darkness will hide the round shape you have built.

Step 7: Darkest darks
Use the 6B pencil for the darkest part of the ball's shadow and draw a dark oval shadow on the ground.
Common mistake: Forgetting the cast shadow on the ground makes the ball look like it is floating in mid-air.

Step 8: Lift the highlight
Use the kneaded eraser to dab a bright spot on the upper left to show where the light hits the surface.
Common mistake: Rubbing the eraser back and forth can smudge the graphite; just dab it once to lift the color.
What makes it look right
- Keep your wrist loose when drawing the initial circle to get a smoother, more even shape.
- Observe how the seams get closer together as they curve toward the edges of the ball.
- Sharpen your 2B pencil frequently to keep the seam lines crisp and distinct from the shading.
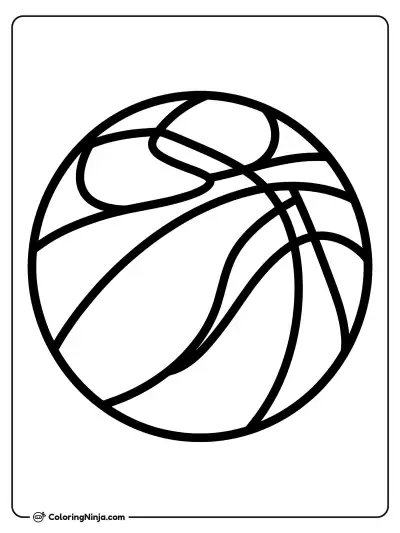
Get the finished coloring page
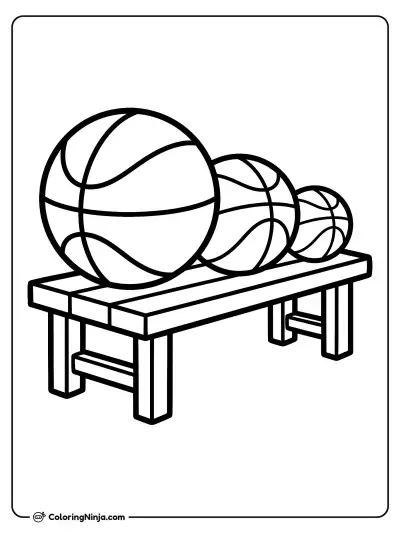
The clean outline from step 5, ready to print and colour.
View the coloring pageThe whole lesson on one sheet
All 8 steps with their captions on one page. Print it and keep it next to your paper.

You have used shading and curved lines to create a three-dimensional sphere from a simple circle. Try drawing the ball from a different angle to see how the seams change position.