
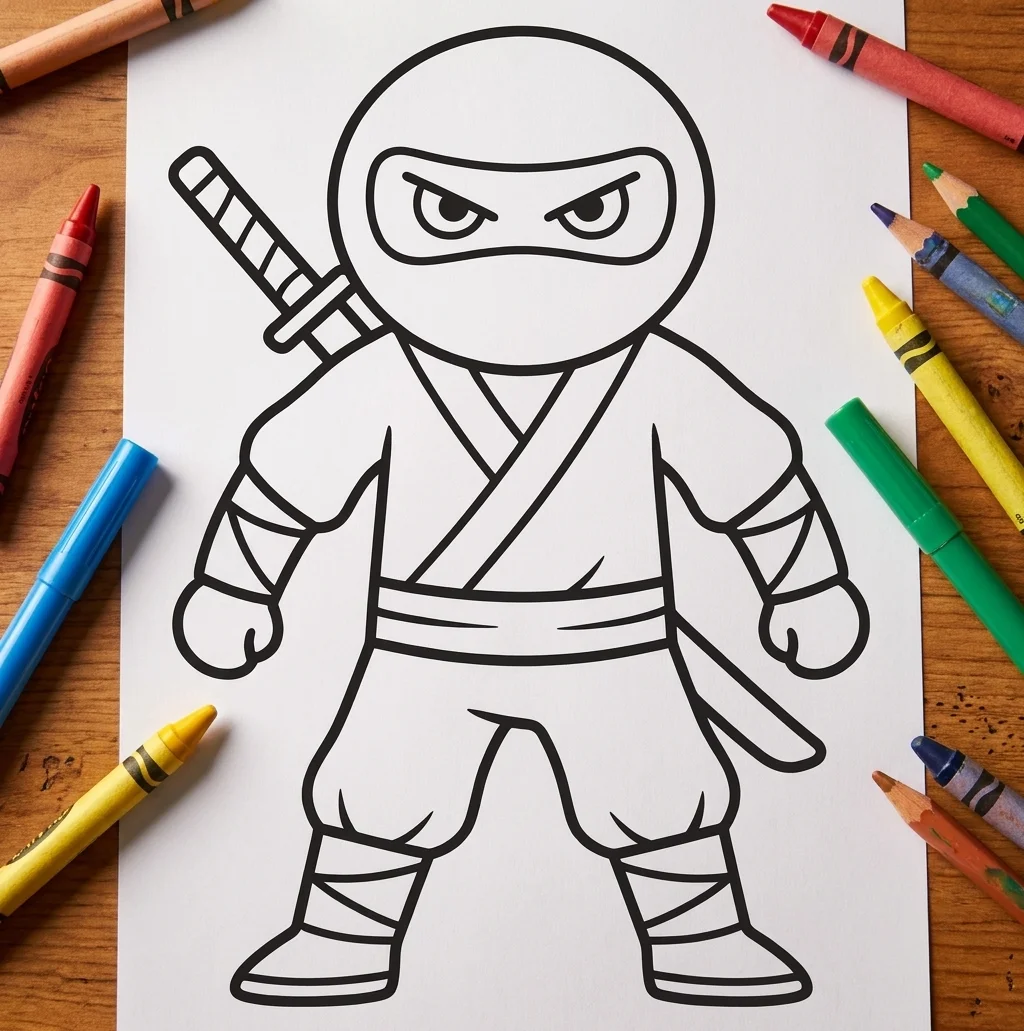
Ninjas are iconic symbols of mystery and skill, making them a fantastic subject for a drawing project. Whether you're a fan of martial arts or just love cool character designs, learning to draw a ninja is a great way to practice dynamic poses and simple shapes for a custom coloring page.
About Ninjas
A Ninja, or shinobi, was a covert agent or mercenary in feudal Japan who specialized in unorthodox warfare, including infiltration, espionage, and sabotage. Often depicted in popular culture wearing dark robes and masks, they are legendary for their agility and mastery of various weapons like katanas and throwing stars. This tutorial focuses on a classic, stylized version of the ninja that is easy for anyone to draw.
Materials You'll Need
- Pencil (HB or #2 for sketching)
- Eraser (for cleaning up guidelines)
- Black fine-tip marker or pen (for final outlines)
- Drawing paper or printer paper
- Colored pencils, markers, or crayons (for coloring!)
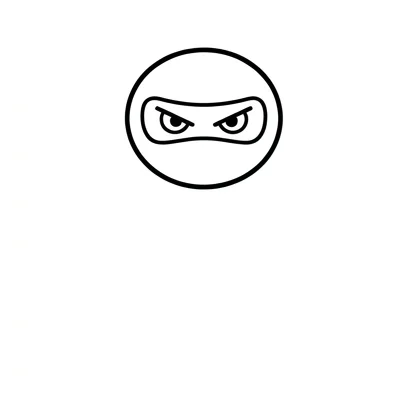
Step 1: Basic Head and Mask
Start by drawing an oval for the head and a narrow horizontal gap across the middle for the mask opening. Inside this gap, draw two sharp, determined eyes to give your ninja a focused and mysterious expression.
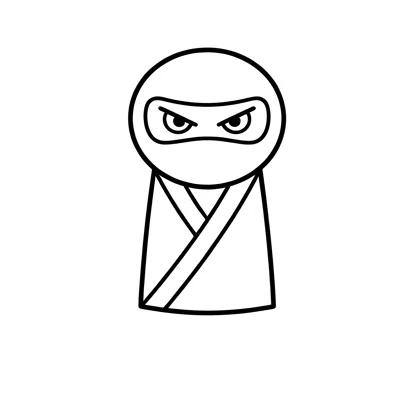
Step 2: Outline the Torso
Sketch a rectangular shape below the head for the body, keeping the lines slightly curved to suggest the flow of fabric. Add two diagonal lines across the chest to represent the overlapping layers of a traditional ninja gi.
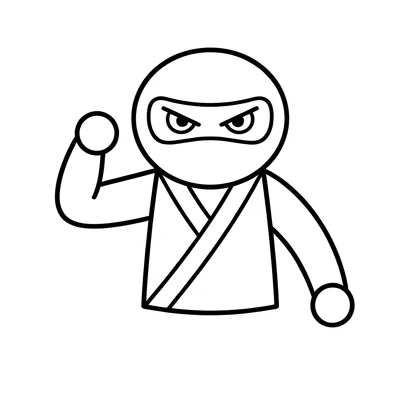
Step 3: Add the Arms
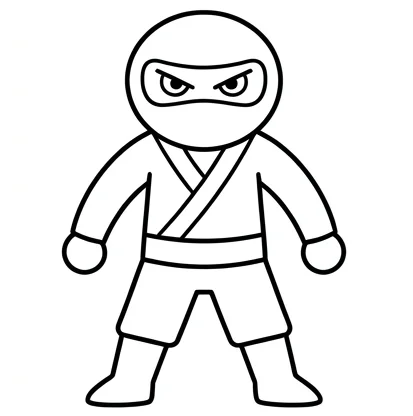
Draw two long, tubular shapes extending from the shoulders, ending in simple circles for the hands. Position one arm as if it is reaching for a weapon to create an action-oriented pose that looks ready for a mission.
Step 4: Sketch the Legs
Create two sturdy legs using rectangular shapes that taper slightly toward the bottom for the ankles. Make sure the stance is wide and balanced, which helps your ninja character look grounded and powerful.
Step 5: Draw the Ninja Sword
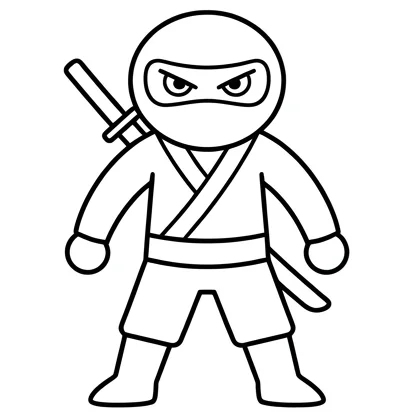
Add a long, thin rectangle protruding from behind the shoulder to represent the handle of a katana. You can also draw a matching scabbard peeking out from the waist area to complete the gear of a master shinobi.
Step 6: Refine Details and Lines
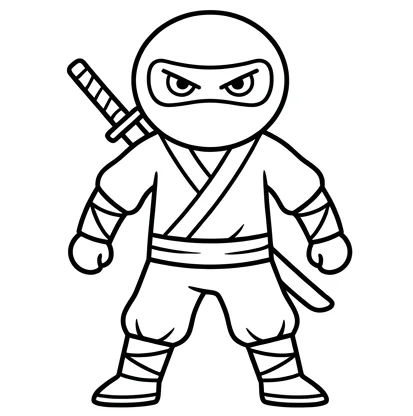
Go over your sketch with a darker pen to define the folds in the clothing and the straps on the boots. Erase any overlapping guide lines to leave a clean black-and-white outline that is perfect for coloring.
Pro Tips
- Use thin, light pencil strokes for your initial shapes so you can easily erase them after inking your final lines.
- When coloring, try using different shades of dark blue or deep purple instead of solid black to show depth and shadows in the suit.
- Add a few horizontal 'speed lines' around the feet to give your ninja a sense of rapid movement and stealth.
Get the Finished Coloring Page
Don't want to draw it yourself? Grab the ready-to-print Ninja coloring page!
View Coloring PageComplete Drawing Guide at a Glance
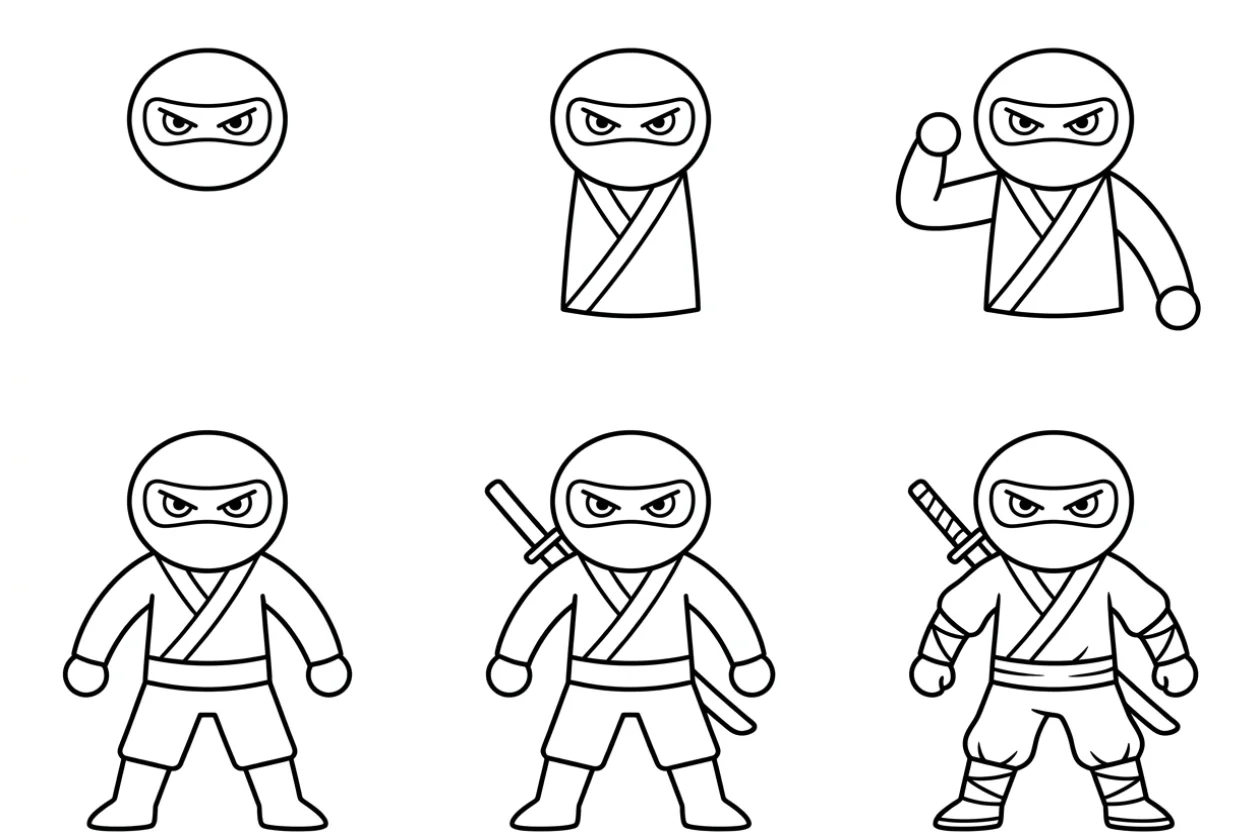
Here are all 6 steps together so you can see the full progression from start to finish:
Now that you've finished your ninja drawing, it's time to bring it to life with your favorite colors! Don't forget to share your masterpiece with friends or family and keep practicing to master even more stealthy and heroic poses.