Drawing a rose starts with a simple cup shape to hold the petals. Many people get lost in the center, but building from the outside in keeps the flower organized. You will end up with a realistic rose showing depth and light.
The spiral secret of rose petals
Rose petals grow in a spiral pattern from a tight center. The sepals are the small green leaves at the base of the flower head that once protected the bud.
What you need
- 2B graphite pencil
- 4B or 6B graphite pencil for the darkest shadows
- Blue col-erase pencil for the construction lines
- Kneaded eraser
- Cream or white drawing paper
The 9 steps
Light comes from the upper left in every step. Each picture shows the drawing as it should look when that step is done.

Step 1: Basic construction shapes
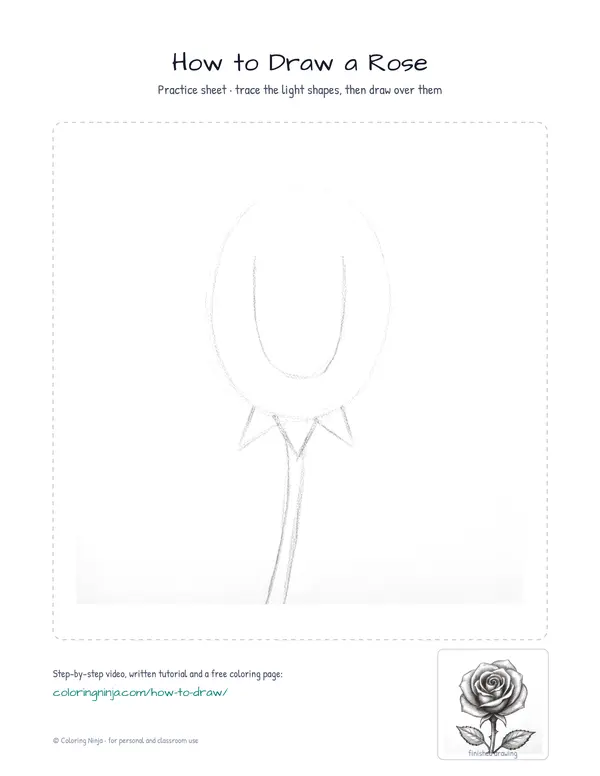
Use the blue col-erase pencil to draw a large oval and a stem line that curves slightly to the right.
Common mistake: Beginners often draw the stem perfectly straight, which looks stiff; give it a gentle curve for a more natural look.

Step 2: Inner cup and sepals
Stay with the blue col-erase pencil to add the inner cup and the small leaves at the base of the flower.
Common mistake: Do not make the sepals too large or they will distract from the petals.

Step 3: Outer petal outlines
Switch to the 2B pencil to draw the wide, outer petals using the blue oval as a guide.
Common mistake: Avoid making all petals the same size; vary their width to create a more realistic flower.

Step 4: The center spiral
Use the 2B pencil to draw the spiral in the center and add thickness to the stem line.
Common mistake: Beginners often draw a circle instead of a spiral; make sure the lines overlap to show the petals unfolding.

Step 5: Leaves and thorns
Add leaves and thorns along the stem with the 2B pencil, placing them at different heights.
Common mistake: Do not place leaves directly opposite each other; staggering them looks more like a real rose branch.

Step 6: Leaf veins and edges
Use the 2B pencil to make the leaf edges serrated and draw a single line down the middle of each leaf.
Common mistake: Pressing too hard on the leaf veins can make them look like cracks; use a very light touch.

Step 7: Block in shadows
Switch to the 4B pencil to shade the right side of the rose, keeping the upper left side light.
Common mistake: Avoid shading the entire flower evenly; keep the side facing the light source bright.

Step 8: Darkest darks and cast shadow
Use the 6B pencil for the deepest shadows in the center and where petals overlap.
Common mistake: If you skip the darkest darks, the rose will look flat instead of round.

Step 9: Final highlights
Use the kneaded eraser to gently lift graphite from the top edges of the petals to create highlights.
Common mistake: Do not rub too hard with the eraser or you might smudge the dark shadows you just created.
What makes it look right
- Keep your 2B pencil sharp to make the jagged edges of the leaves look crisp.
- When shading with the 4B, follow the curve of the petals to help show their rounded shape.
- Blunt the 6B pencil slightly to get smoother, darker tones in the deep crevices of the flower.
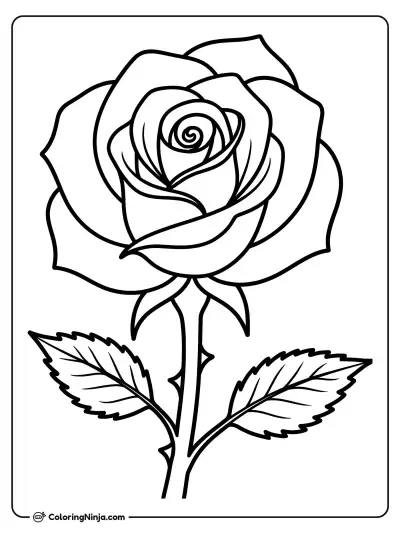
Get the finished coloring page
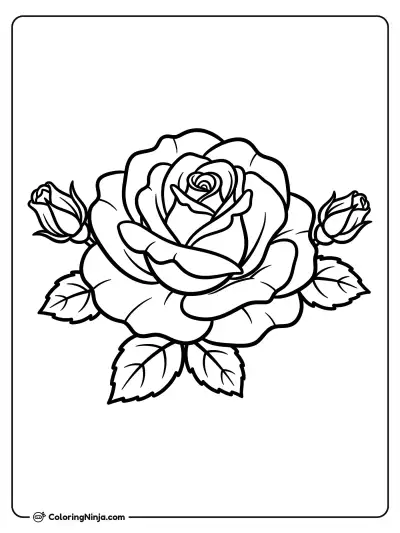
The clean outline from step 6, ready to print and colour.
View the coloring pageThe whole lesson on one sheet
All 9 steps with their captions on one page. Print it and keep it next to your paper.

The rose is complete with its layered petals and soft shading. Try drawing a rose bud next using a smaller, tighter oval.