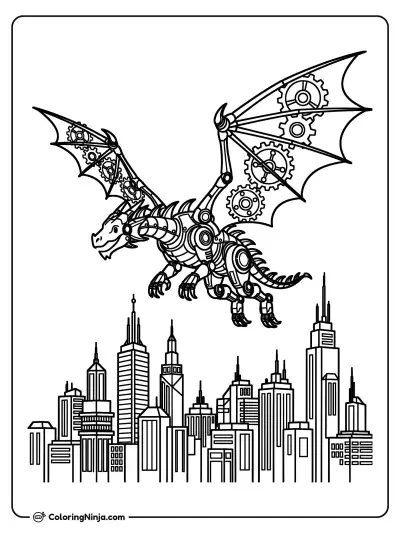
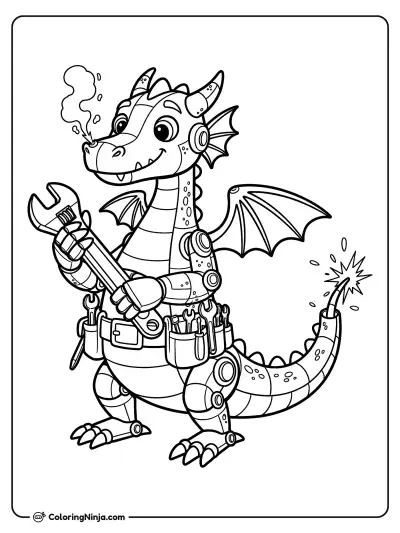
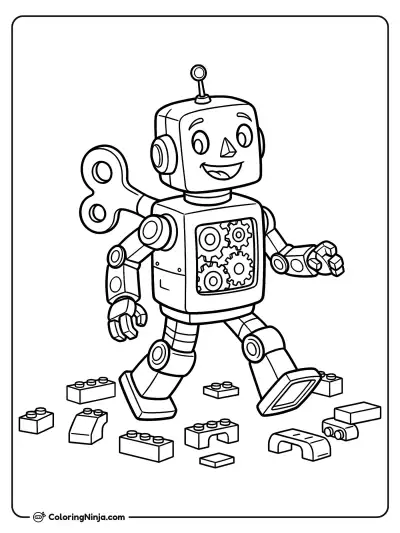
Drawing a robot starts with simple geometric boxes and circles to build a sturdy frame. This approach prevents the machine from looking wobbly or uneven. You will finish with a detailed mechanical character featuring metallic shading.
How joints make a robot move
Robots are machines designed to perform tasks, often using joints like hinges or ball-and-socket connectors to move. Their bodies are usually made of rigid materials like metal or plastic, which creates sharp edges and flat surfaces.
What you need
- HB pencil for the construction lines
- 0.3 mm black fineliner
- 0.8 mm black fineliner
- Black brush pen for the darkest accents
- Eraser
- Smooth white paper
The 9 steps
Light comes from the upper left in every step. Each picture shows the drawing as it should look when that step is done.

Step 1: Primary boxes
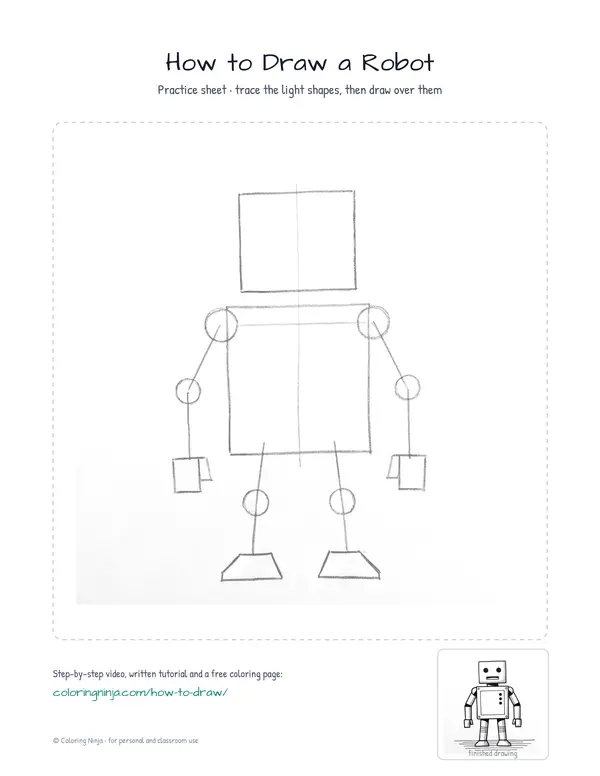
Draw a square for the head and a larger rectangle below it for the torso using the HB pencil.
Common mistake: Making the head too big; keep it smaller than the torso for balance.
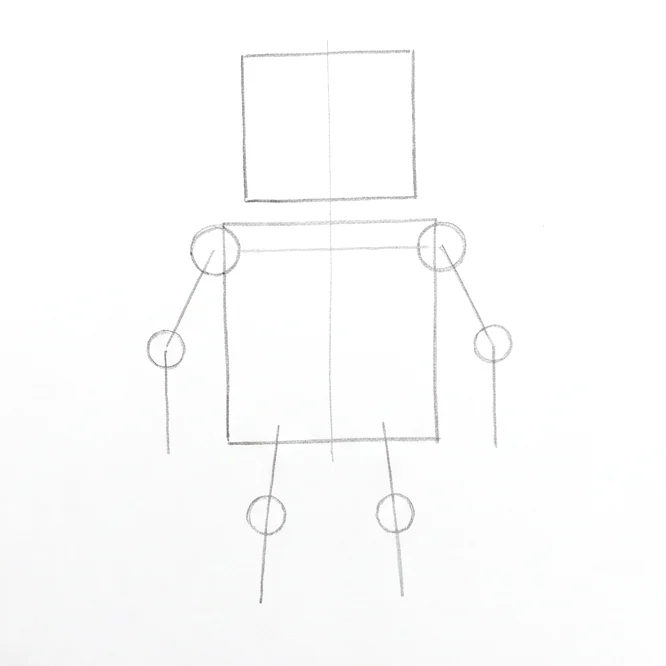
Step 2: Limb skeletons
Add circles for the shoulders and elbows, then connect them with straight lines to form the arms and legs.
Common mistake: Drawing limbs without joints; add circles at the elbows and knees to show where the metal bends.

Step 3: Hands and feet
Using the HB pencil, draw small rectangles for the hands and wider trapezoids at the bottom for the feet.
Common mistake: Making feet too small; widen the base of the feet so the robot looks stable.

Step 4: Outer contour
Switch to the 0.8 fineliner and trace the outer contour of the robot to create a strong, dark edge.
Common mistake: Pressing the pen too hard; use a light, steady hand to keep the outer contour smooth.

Step 5: Face and chest
Use the 0.3 fineliner to add two circular eyes, a rectangular mouth, and a control panel on the chest.
Common mistake: Overlapping the face details; leave enough space between the eyes so they do not touch.

Step 6: Mechanical details
Add small circles for bolts at the corners and horizontal lines on the limbs with the 0.3 fineliner.
Common mistake: Placing bolts unevenly; align the small circles with the corners of the metal plates.

Step 7: Hatching for tone
Draw thin, parallel diagonal lines on the right side of all parts using the 0.3 fineliner for shading.
Common mistake: Drawing messy cross-hatches; keep all shading lines slanted in the same direction.

Step 8: Solid blacks
Switch to the brush pen to fill the eyes and the deep joints with solid black ink for contrast.
Common mistake: Filling in too much; leave the left side of the robot white to show where the light hits.

Step 9: Final cleanup
Wait for the ink to dry, then erase the pencil lines and add ground lines with the 0.3 fineliner.
Common mistake: Smudging the ink; wait for the drawing to dry completely before using the eraser.
What makes it look right
- Keep your hatching lines short and evenly spaced to suggest a smooth metal surface.
- Use the thicker 0.8 pen only for the outside edges to make the robot pop from the page.
- Place the eyes at the same height to ensure the robot looks symmetrical.
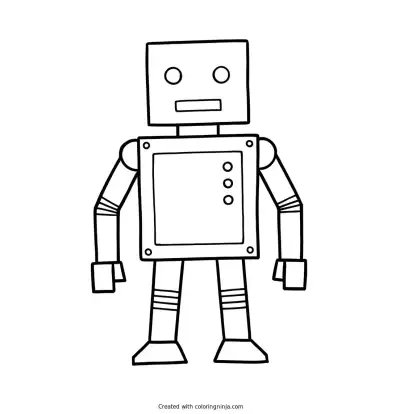
Get the finished coloring page
The clean outline from step 6, ready to print and colour.
View the coloring pageThe whole lesson on one sheet
All 9 steps with their captions on one page. Print it and keep it next to your paper.

The robot is now complete with clean lines and mechanical depth. Place your drawing in a folder to protect the ink from fading.