Drawing a heart starts with understanding its symmetry. Many people draw one side larger than the other. This lesson uses basic shapes to keep both sides even and adds shading for a rounded look.
The secret to a balanced heart
A classic heart shape is not a real human heart but a symbol used for centuries. It is perfectly symmetrical with two rounded lobes at the top meeting at a point at the bottom.
What you need
- 2B graphite pencil
- 4B or 6B graphite pencil for the darkest shadows
- Blue col-erase pencil for the construction lines
- Kneaded eraser
- Cream or white drawing paper
The 6 steps
Light comes from the upper left in every step. Each picture shows the drawing as it should look when that step is done.

Step 1: Two circles
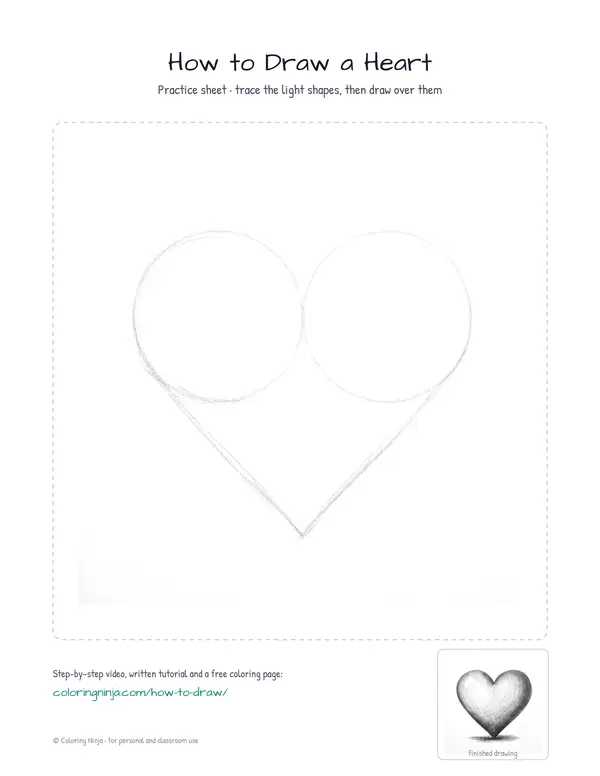
Use the blue col-erase pencil to draw two circles of the same size that touch in the center.
Common mistake: Beginners often draw circles of different sizes; try to make them identical for a balanced heart.

Step 2: Bottom point
Draw a V-shape with the blue col-erase pencil from the widest points of the circles to a point below.
Common mistake: Making the V-shape too short creates a wide, flat heart; pull the point down for a traditional look.

Step 3: Graphite outline
Switch to the 2B pencil to draw a dark outline around the outer edges, including a sharp dip at the top center.
Common mistake: Neglecting the sharp dip at the top makes the heart look like a simple oval instead of a classic symbol.

Step 4: Inner dip and cleanup
Use the 2B pencil to define the top dip and use the kneaded eraser to lift the blue lines.
Common mistake: Forgetting to erase the middle lines makes the heart look like two separate shapes; clear the center completely.

Step 5: Shadow side
Switch to the 4B pencil to add a layer of gray to the right side, away from the light.
Common mistake: Shading the whole heart makes it look flat; keep the upper left side white to show the light source.

Step 6: Darks and highlights
Use the 6B pencil for the darkest edges and cast shadow, then lift a highlight with the kneaded eraser.
Common mistake: A missing cast shadow makes the heart look like it is floating; add a dark shape on the ground.
What makes it look right
- Keep the construction circles light so they do not show through the final shading.
- Rotate the paper to make drawing the long curves of the V-shape easier for your hand.
- Use the side of the pencil lead for smoother shading transitions instead of the sharp tip.
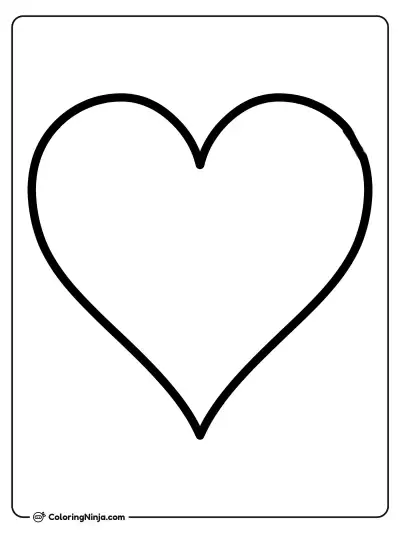
Get the finished coloring page
The clean outline from step 4, ready to print and colour.
View the coloring pageThe whole lesson on one sheet
All 6 steps with their captions on one page. Print it and keep it next to your paper.

The heart is now a solid object with light and shadow. Try drawing a row of hearts with different light directions.