
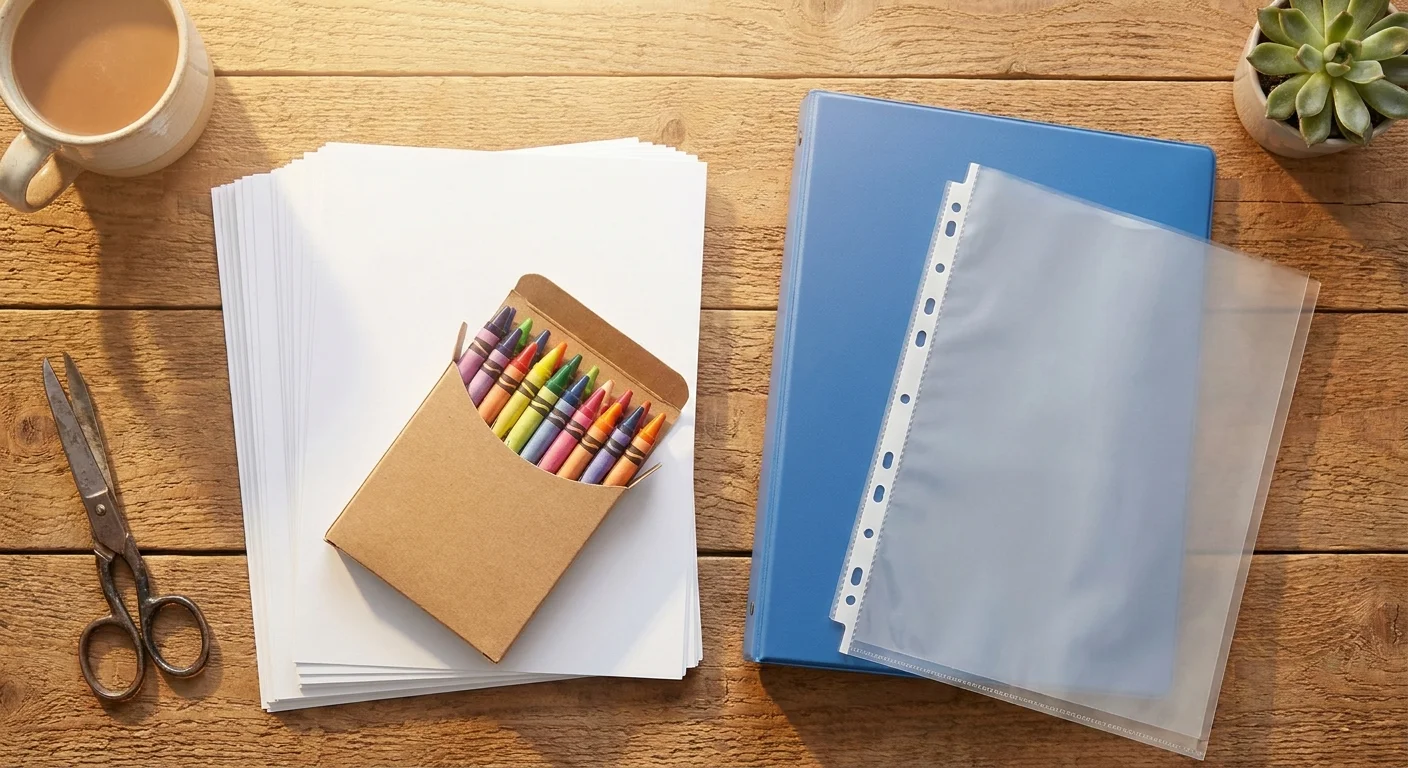
A stack of paper sits on the edge of the kitchen table and leans to the left. You can stop the mess and turn a pile of loose sheets into a neat library that your child can actually use.
The kitchen table paper avalanche
A three-inch stack of paper sits near the fruit bowl. When the back door opens, a breeze sends the top five sheets flying onto the floor. You find a fire truck with its ladder up resting face-down near the dog bowl. This kind of mess happens when you have access to a huge library of art but no place to put it. You need a system that keeps the paper flat and dry. We think three-ring binders are the best choice because they stand up on a shelf like a real book. Folders often let the corners of the paper curl or bend, but a binder keeps everything straight.
A binder with clear plastic sleeves keeps the ink from rubbing off on your hands or the furniture. Since every page on our site has a Print PDF button, the sheets come out perfectly sized for Letter and A4 paper. This means you do not have to trim the edges or worry about the image getting cut off. You can slide the printed pages into the sleeves before the coloring even starts. This gives the child a sturdy surface to work on and keeps the blank pages clean until they are ready for the crayons. It is much better than letting them dig through a messy drawer where papers get wrinkled or torn.
Sorting by theme and subject
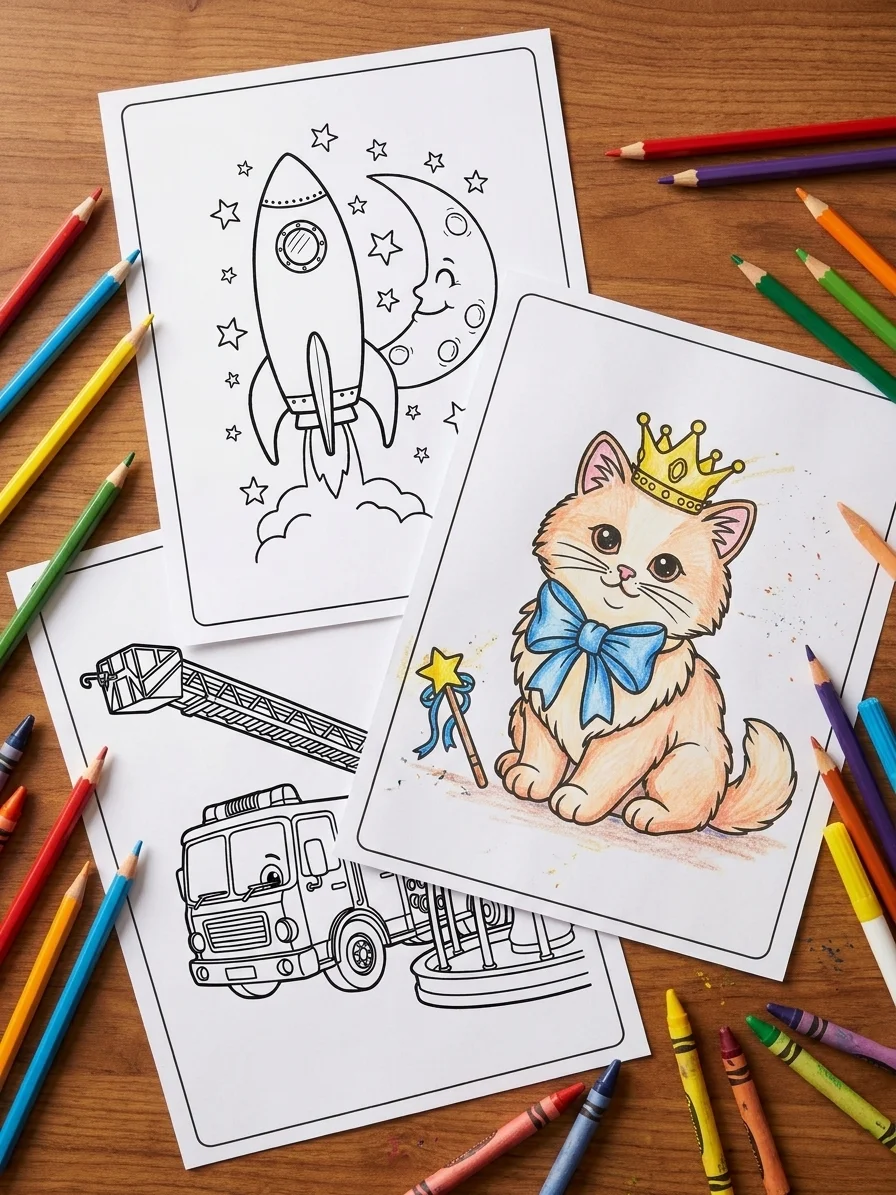
You look at the screen and see a list of categories like animals, dinosaurs, and unicorns. There are more than 3,600 free printable coloring pages available right now. If you print ten pages every day, it would take you a whole year to finish them all. This variety is great for a rainy afternoon, but it creates a sorting problem. You might have a space rocket circling the moon sitting right next to a picture of a cute kitten. Without categories, you will spend more time digging through the stack than actually coloring with your kids. We suggest sorting your physical and digital files by the themes we use on the site.
You can make one section for Halloween and Christmas and another for flowers and mandalas. If you have a child who loves science, keep the space and dinosaur pages in their own folder. This makes it easy to find exactly what they want when they are in a specific mood. If they want to learn their ABCs, you can jump straight to the letters section. Keeping the pages grouped by topic helps you see which categories are the most popular in your house so you know what to print next. It also makes the binder feel like a real coloring book that you bought at the store.
Managing your digital downloads
Your mouse hovers over the download link on the screen. You have two choices for every image: a PDF or a JPEG. The PDF is the best choice for printing because the lines stay sharp and the size is locked in for your printer. The JPEG is better if you want to save the image to a tablet or a phone to look at later. We recommend creating a main folder on your desktop labeled for coloring. Inside that folder, make subfolders that match our site categories like cute animals or names. This keeps your computer from getting cluttered with random files and makes it easy to find things again.
Digital organization is just as important as physical storage because it saves you from searching the whole site every time. You can download a batch of pages at once and keep them ready for a day when the internet might be slow. If you find a few pages you really like, save them into a favorites folder. This way, you can print a fresh copy of that favorite dinosaur if the first one gets ripped or soaked in juice. Having a digital library means you never run out of activities, even if you are away from the computer for a few days. It is a simple way to stay prepared for any rainy day.
The coloring station supply kit
A yellow crayon with no wrapper lies in the middle of the hallway. Next to it is a blue marker that has lost its cap and dried out completely. These small tools are the lifeblood of a coloring session, but they often end up scattered in every room of the house. You need a dedicated station where the paper and the tools live together. If the crayons are in one room and the binders are in another, the kids will carry them back and forth and lose things along the way. We prefer using clear plastic bins so you can see exactly what is inside without opening every lid.
The paper needs to be stored in a dry place away from the sun so the edges do not turn yellow. If you use a hole punch, you can put the pages directly into a binder without the plastic sleeves, but the holes might tear over time. We think the sleeves are worth the extra cost because they protect the art from spills. You can also keep a small clipboard in the bin for when the kids want to color in the car or on the sofa. Having all the supplies in one spot makes it much easier to start and stop the activity without a big cleanup.
- Three-ring binders with clear cover pockets
- Plastic sheet protectors to prevent smudges
- Crayons and colored pencils in separate bins
- A hole punch for loose papers
- Label maker or permanent markers
- Clipboard for coloring on the go
Organizing custom and special pages
You take a photo of your family dog sitting in the grass. You upload that photo to the site and use the photo-to-coloring-page tool. The tool traces the outlines and turns the fur and the eyes into a black-and-white drawing. This is a special kind of page that feels more personal than a standard drawing. You can also use the homepage generator to turn a simple sentence into a custom page. Visitors can make 3 pages before they need an account, and a free account comes with 3 credits. If you need more, 50 credits cost $2.99 as a one-time payment. There is no subscription to worry about.
These custom pages deserve a special spot in your organization system. You can make a page with the child's own name on it and use it as the front cover of their main binder. This makes the child feel like they own the project. Since these pages cost credits or take time to create, you should keep them in a separate folder from the general free pages. It helps to keep the original photo or the sentence you used so you can remember why you made the page in the first place. These personalized items often become the pieces that parents want to save for a long time in a memory box.
Displaying and rotating the art
The refrigerator door is so full of paper that you can no longer see the handle. There is a floral mandala from last week and a drawing of a cat from three months ago. While it is good to show off the work, a crowded fridge makes the house feel messy. We suggest a rotation system where only the newest pieces stay on display. You can move the older drawings into the binders or a storage box under the bed. This keeps the kitchen looking clean while still honoring the hard work the child put into their art. It also makes the new drawings stand out more.
When you rotate the art, look for the pieces that show progress. You might see how they stayed inside the lines better on a fire truck with its ladder up than they did on earlier pages. These are the ones to keep in a permanent archive. The pages that are just scribbles can be recycled to make room for new ones. You do not have to keep every single sheet of paper to value the activity. Focusing on the best pieces makes the collection feel more like a curated gallery and less like a pile of scrap paper. It helps the child feel proud of their best work.
Ready to Create Your Own?
Describe any idea and get a free, printable coloring page in seconds.
Try the Coloring Page GeneratorClear off your kitchen table and put the finished drawings into a single stack. Pick up one three-ring binder today to start your child's organized art collection.