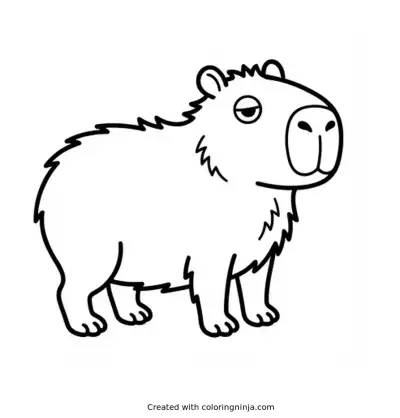
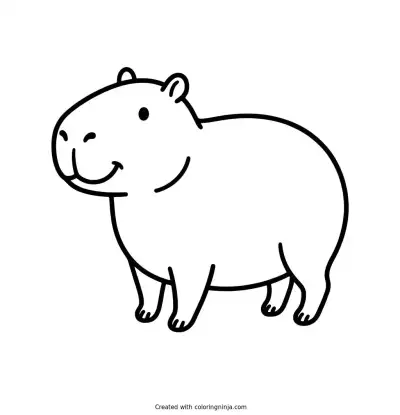
Capybaras have a heavy, barrel-shaped body and a rectangular head. Starting with simple ovals prevents the drawing from becoming too small or too large on the paper. You will finish with a shaded, realistic capybara.
About a Cute Capybara
Capybaras are the world's largest rodents and live near water. Their eyes and ears are located high on their heads to help them see while swimming.
What you need
- 2B graphite pencil
- 4B or 6B graphite pencil for the darkest shadows
- Blue col-erase pencil for the construction lines
- Kneaded eraser
- Cream or white drawing paper
The 9 steps
Light comes from the upper left in every step. Each picture shows the drawing as it should look when that step is done.

Step 1: Body oval
Use the blue col-erase pencil to draw a large, horizontal oval for the main body.
Common mistake: Drawing the oval too small; make it large enough to leave only a small margin around the edges.

Step 2: Head and neck
Draw a smaller vertical oval for the head and connect it to the body with two short lines.
Common mistake: Making the head a perfect circle; capybaras have longer, more rectangular head shapes.

Step 3: Legs and ground
Add four short rectangles for the legs and a straight line underneath for the ground using the blue pencil.
Common mistake: Drawing the legs too long; capybaras have very short, sturdy legs for their body size.

Step 4: Head outline
Switch to the 2B pencil to draw the blunt snout and the small, rounded ear at the top of the head.
Common mistake: Pressing too hard with the 2B; keep the line light so it can be refined later.

Step 5: Body contour
Outline the arched back and the flat belly with the 2B pencil, following the blue construction lines.
Common mistake: Drawing a flat back; capybaras have a high, rounded arch over their rear.

Step 6: Facial features
Add a small circular eye, a nostril, and three short toes on each foot with the 2B pencil.
Common mistake: Placing the eye in the middle of the face; it belongs near the top of the head.

Step 7: Shadow block-in
Use the 4B pencil to lightly shade the right side of the face, the neck, and the bottom of the belly.
Common mistake: Shading the whole body; leave the left side white to show where the light hits.

Step 8: Dark accents
Switch to the 6B pencil to fill the eye and draw a dark, flat shadow on the ground.
Common mistake: Making the shadow float; ensure the cast shadow touches the bottom of the feet.

Step 9: Highlights
Press the kneaded eraser onto the top of the head and back to lift highlights and show the light source.
Common mistake: Scrubbing with the eraser; press and lift to remove graphite without smudging the paper.
What makes it look right
- Keep the snout rectangular to capture the capybara's unique profile.
- Use short, flicking strokes with the 2B pencil to suggest coarse fur along the back.
- Leave a tiny white dot in the eye to make it look wet and alive.
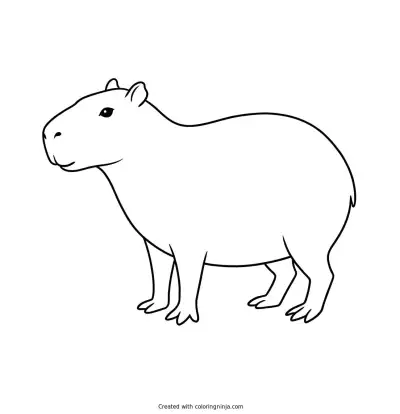
Get the finished coloring page
The clean outline from step 6, ready to print and colour.
View the coloring pageThe whole lesson on one sheet
All 9 steps with their captions on one page. Print it and keep it next to your paper.

Look at your drawing from a distance to see if the shadows are dark enough. Try drawing a second capybara standing in water.