Owls often look like a single solid shape until you look closer at their structure. Starting with two overlapping circles helps keep the body stable on the branch. This lesson builds a perched owl using soft graphite layers for depth.
About an Owl
Owls have large, forward-facing eyes fixed in bony sockets and heads that can rotate 270 degrees. Their feathers are soft and designed for silent flight, creating a rounded silhouette.
What you need
- 2B graphite pencil
- 4B or 6B graphite pencil for the darkest shadows
- Blue col-erase pencil for the construction lines
- Kneaded eraser
- Cream or white drawing paper
The 9 steps
Light comes from the upper left in every step. Each picture shows the drawing as it should look when that step is done.

Step 1: Basic body shapes
Use the blue col-erase pencil to lightly draw a large oval for the body and a circle for the head.
Common mistake: Beginners often make the head too small; ensure the head circle is about two-thirds the width of the body.

Step 2: Guidelines and branch
Add a cross on the face to mark the eyes and a thick horizontal branch under the oval.
Common mistake: Placing the branch too low makes the owl look like it is floating; the bottom of the oval must touch the branch.

Step 3: Eyes and ear tufts
Draw two large circles for eyes and two small triangles for the ear tufts using the 2B pencil.
Common mistake: Making the ear tufts too tall can make the owl look like a cat; keep them short and wide.

Step 4: Beak and wings
Add a small pointed beak between the eyes and draw two long curves for the wings tucked against the sides.
Common mistake: Drawing the wings straight down looks stiff; curve them inward to follow the roundness of the body.

Step 5: Feet and facial disk
Draw three small toes on each side where the body meets the branch and a soft heart shape around the face.
Common mistake: Making the toes too thin makes the owl look unstable; draw them as thick, rounded ovals.

Step 6: Pupils and feather texture
Fill in the pupils leaving a small white dot for light, then add rows of small U shapes for chest feathers.
Common mistake: Spacing the feathers too evenly looks like a pattern; vary the size and spacing slightly for a natural look.

Step 7: Block in shadows
Switch to the 4B pencil and lightly shade the right side of the owl, away from the light source.
Common mistake: Pressing too hard creates a flat black area; keep the stroke light to allow for more layers of tone.

Step 8: Darkest darks
Use the 6B pencil to darken the area under the beak and the shadows where the wings meet the body.
Common mistake: Neglecting the shadow under the chin makes the head look flat against the body.

Step 9: Cast shadow and highlights
Add a dark cast shadow on the branch and use the kneaded eraser to tap light back into the left side.
Common mistake: Making the cast shadow too long can be distracting; keep it close to the feet to show the owl is sitting firmly.
What makes it look right
- Keep the construction lines very light so they disappear under the graphite shading.
- Use the side of the pencil lead for soft feather textures instead of the sharp tip.
- Leave the area around the eyes light to make the dark pupils stand out more.
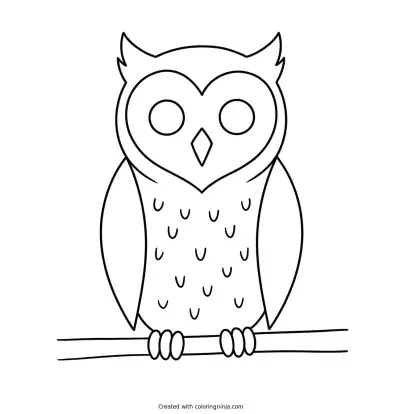
Get the finished coloring page
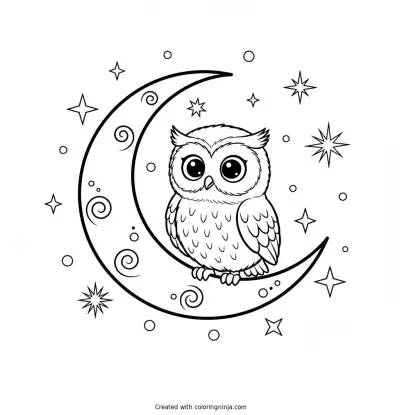
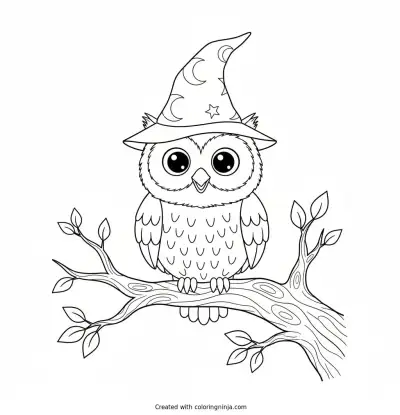
The clean outline from step 6, ready to print and colour.
View the coloring pageThe whole lesson on one sheet
All 9 steps with their captions on one page. Print it and keep it next to your paper.

Practice drawing the owl with its head turned to different angles using the same circle method. Place your finished drawing in a folder to protect the graphite from smudging.