Drawing a unicorn starts with the same anatomy as a horse. The challenge is balancing the heavy body with a delicate horn. You will create a shaded figure with a flowing mane and tail.
About a Unicorn
Unicorns are legendary creatures usually depicted as horses with a single spiraled horn on the forehead. They often have cloven hooves and a lion-like tail in traditional heraldry.
What you need
- 2B graphite pencil
- 4B or 6B graphite pencil for the darkest shadows
- Blue col-erase pencil for the construction lines
- Kneaded eraser
- Cream or white drawing paper
The 9 steps
Light comes from the upper left in every step. Each picture shows the drawing as it should look when that step is done.

Step 1: Basic body shapes
Use the blue col-erase pencil to draw a large oval and a small circle, then connect them with a neck line.
Common mistake: Beginners often draw the head too large; keep the head circle about one-third the size of the body oval.

Step 2: Leg and horn guides
Draw four lines for the legs with small circles for joints, and add a long line for the horn.
Common mistake: Legs are often drawn straight like sticks; add small circles for joints to show where the legs bend.

Step 3: Head and horn outline
Switch to the 2B pencil to outline the head, snout, ear, and the long triangle of the horn.
Common mistake: Making the horn too short; extend the triangle at least as long as the head.

Step 4: Body and leg outline
Use the 2B pencil to draw the outer lines of the body and legs around the blue construction lines.
Common mistake: Drawing the belly flat; curve the line upward toward the back legs to show a lean body.

Step 5: Mane and tail flow
Add wavy shapes for the mane and tail with the 2B pencil, following the curve of the body.
Common mistake: Drawing mane hairs as individual spikes; draw the mane as large flowing shapes first.

Step 6: Facial features and horn detail
Draw the eye, nostril, and hooves with the 2B pencil, then add diagonal spirals to the horn.
Common mistake: Spiral lines that are perfectly horizontal; tilt the lines upward to follow the horn's growth.

Step 7: Shadow block-in
Switch to the 4B pencil to block in shadows on the right side of the unicorn, away from the light.
Common mistake: Shading the whole body; leave the left side white to show where the light hits.

Step 8: Darkest darks
Use the 6B pencil for the darkest areas in the mane and a cast shadow on the ground to the right.
Common mistake: Making the ground shadow too small; extend it to the right to match the light source.

Step 9: Highlights and cleanup
Use the kneaded eraser to lift highlights from the top edges and the horn to create shine.
Common mistake: Rubbing the eraser; press and lift to remove graphite without smearing the drawing.
What makes it look right
- Keep the blue construction lines very light so they do not show through the final shading.
- Use the side of the 4B pencil for broader, softer shadow areas on the body.
- Sharpen the 2B pencil frequently to keep the horn spirals and eye crisp.
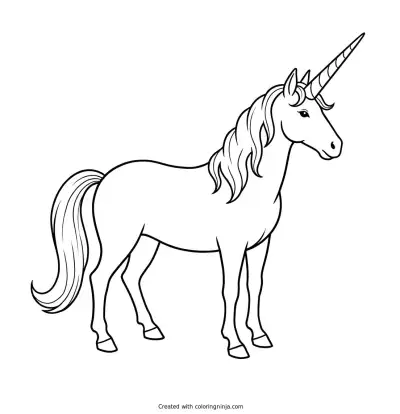
Get the finished coloring page
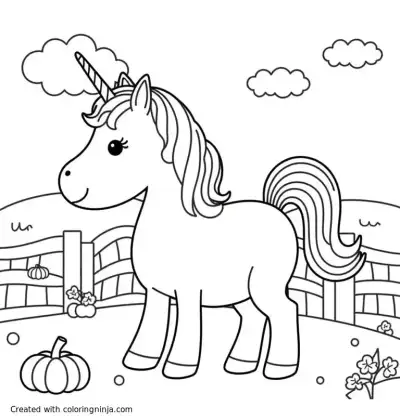
The clean outline from step 6, ready to print and colour.
View the coloring pageThe whole lesson on one sheet
All 9 steps with their captions on one page. Print it and keep it next to your paper.

The drawing is complete with form and light. Practice drawing the horse in different poses to see how the horn moves with the head.