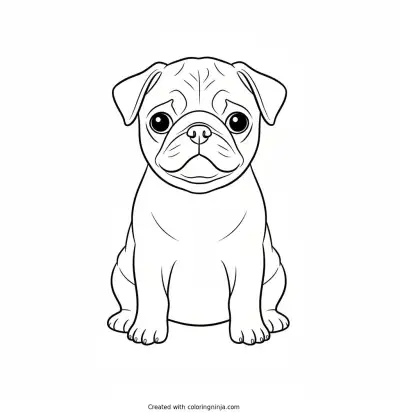
Drawing a dog starts with finding the balance between the heavy body and the smaller head. Using blue pencil for initial shapes prevents the final drawing from looking messy. You will end up with a sitting dog that has realistic fur texture and depth.
About a Dog
Dogs have a skeletal structure where the back legs have a prominent joint called a hock that bends backward. Their eyes are usually positioned halfway down the head, above the muzzle.
What you need
- 2B graphite pencil
- 4B or 6B graphite pencil for the darkest shadows
- Blue col-erase pencil for the construction lines
- Kneaded eraser
- Cream or white drawing paper
The 9 steps
Light comes from the upper left in every step. Each picture shows the drawing as it should look when that step is done.

Step 1: Head and body shapes
Lightly draw a circle for the head and a larger oval for the body using the blue col-erase pencil.
Common mistake: Beginners often draw the head too large; make sure the body oval is significantly bigger than the head circle.

Step 2: Muzzle and leg guides
Use the blue col-erase pencil to add a muzzle and lines for the front and back legs.
Common mistake: Do not make the muzzle too long or the dog will look like a different animal; keep it proportional to the head circle.

Step 3: Head and ear outline
Switch to the 2B pencil and draw the top of the head and two floppy ears over the blue shapes.
Common mistake: Beginners often draw ears too high; place the base of the ears level with the top of the head circle.

Step 4: Body and leg outline
Use the 2B pencil to define the neck and the thickness of the legs over your blue guide lines.
Common mistake: Avoid making the legs perfectly straight; add a slight curve to show the muscles and joints.

Step 5: Facial features
Draw two eyes and a nose using the 2B pencil, placing them carefully on the muzzle area.
Common mistake: Do not place the eyes too high; they should be just above the line where the muzzle meets the head.

Step 6: Fur texture and tail
Add fur texture with short strokes and draw the tail using the 2B pencil.
Common mistake: Avoid drawing every single hair; use small clusters of jagged lines to suggest the texture instead.

Step 7: Shadow block-in
Switch to the 4B pencil and block in a light gray tone on the right side of the dog.
Common mistake: Do not press hard; keep the tone even to represent the side of the dog facing away from the light.

Step 8: Darkest darks
Use the 6B pencil to darken the eyes and nose, and draw a dark shadow on the ground.
Common mistake: Do not forget the cast shadow on the ground; without it, the dog looks like it is floating.

Step 9: Highlights and cleanup
Use the kneaded eraser to dab away graphite from the top of the head and the tip of the nose.
Common mistake: Avoid rubbing the eraser back and forth; press it down and lift it up to keep the paper clean.
What makes it look right
- Keep your pencil sharp when drawing fur to ensure the lines look crisp and like individual hairs.
- Follow the direction of growth when drawing fur strokes, usually moving from the head toward the tail.
- Use very light pressure with the blue pencil so the marks do not indent the paper.
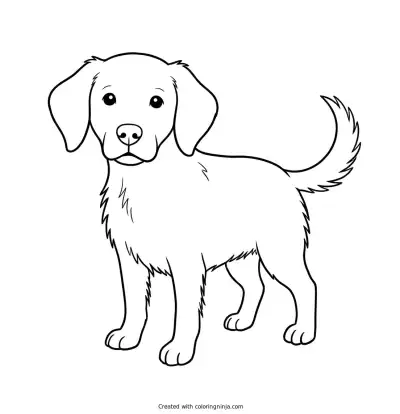
Get the finished coloring page
The clean outline from step 6, ready to print and colour.
View the coloring pageThe whole lesson on one sheet
All 9 steps with their captions on one page. Print it and keep it next to your paper.

The dog is now complete with fur texture and realistic lighting. Practice drawing different ear shapes to create various dog breeds.