
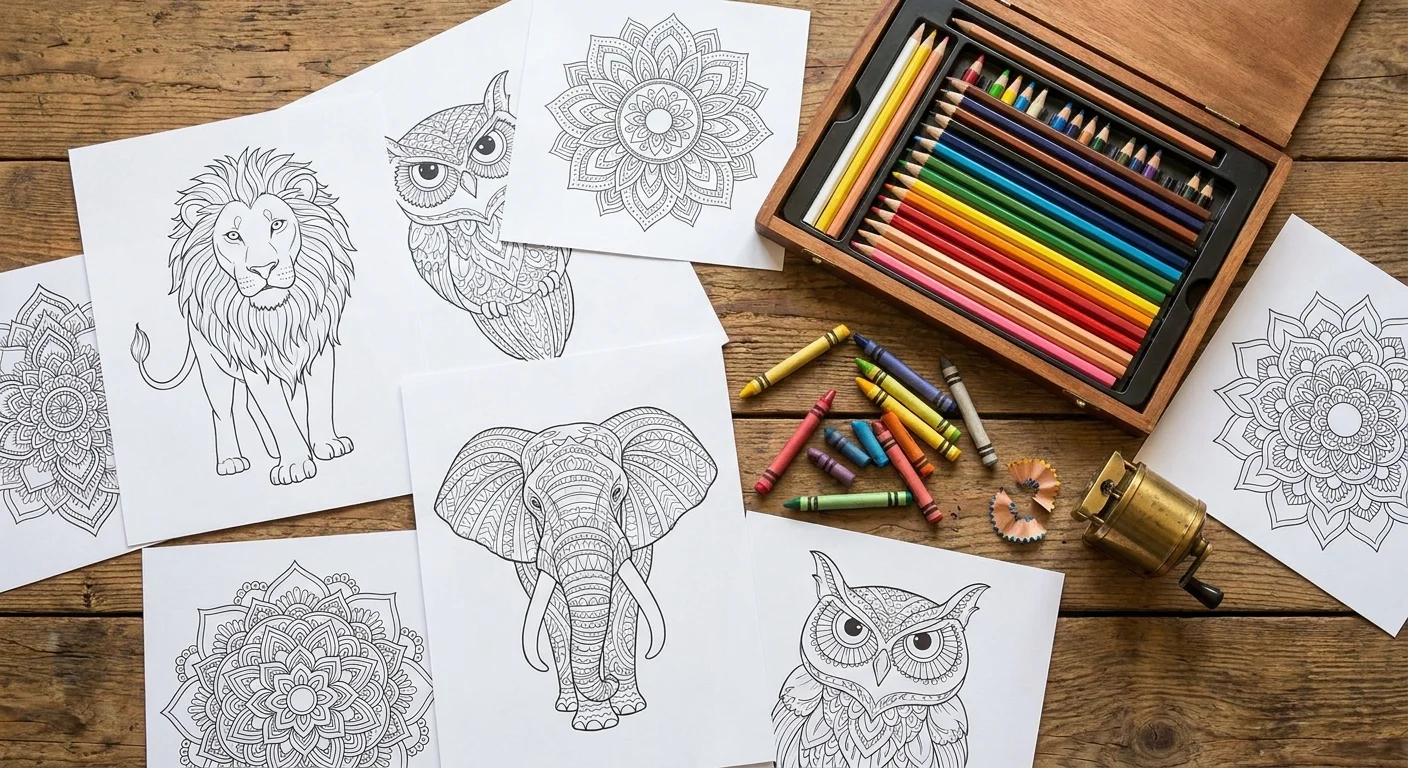
A tin box of sixty-four crayons sits on a kitchen table, but half of them are missing their paper wrappers and the blue one is snapped in two. This happens because the tools we give kids often do not match the paper or the project they are working on. We want to show you how to pair the right markers, pencils, or crayons with our 1,200 free designs so the ink stays on the page and the kids stay busy.
Markers and Ink Management
A child grabs a dark purple permanent marker and starts filling in a large circle on a thin sheet of copy paper. Within seconds, a purple blotch appears on the wooden table underneath, and the paper starts to pill and tear under the wet pressure. This is the most common mess in any house or classroom, and it usually happens because the ink is too heavy for the paper weight. We suggest using washable, broad-line markers only for large shapes or when you have printed on heavy cardstock. If you are printing one of our many animal pages, like a bear or a lion, markers can cover the large areas quickly, but they will ruin the page if the child stays in one spot for too long.
Markers also have a habit of losing their caps, which leads to a pile of dried-out plastic sticks that end up in the trash. We recommend a capped marker system where the child has to click the cap shut before they can trade for a new color. This simple rule saves money and prevents the frustration of a dry pen when they finally get to the best part of the picture. When the ink bleeds, it does not just ruin the table; it makes the back of the paper soggy and gross. If a child wants to color a large space like the ocean or a big gray elephant, they might press down harder and harder. This is why we provide a JPEG download for every design, so you can print on thicker paper if you know your child is a heavy marker user.
Crayons for Early Learners
A toddler holds a yellow crayon in a tight fist and stabs at the paper, leaving little dots instead of smooth lines. This stabbing motion is a natural stage of development, but it shatters standard thin crayons into useless bits. For children under five, we always recommend jumbo triangular crayons because they provide a larger surface area for a palm grip and they cannot roll off the desk. When a child is working on a page with simple outlines, such as a large pumpkin or a basic star, these thick wax tools are much more satisfying to use than thin pencils. They cover the white space fast, which gives the child a sense of accomplishment before they move on to the next task.
Wax crayons also have a unique layering property that markers lack. You can rub a light blue over a dark green to create a new shade, which is a great way to talk about colors without needing a huge box of supplies. We have over 1,200 free printable coloring pages, and most of them, like our cute animals or simple Halloween shapes, are designed with thick enough lines to accommodate the slightly blunt tip of a well-used crayon. If the tip gets too flat, you can show the child how to use the side of the crayon to shade large areas, like the sky or a grassy field. This technique keeps the hand from getting tired and teaches them that a tool can be used in more than one way.
Precision Tools for Older Kids
A ten-year-old looks at a floral mandala and realizes their thick markers will never stay inside those tiny, swirling lines. This is the moment to switch to colored pencils, which offer the precision needed for complex patterns and geometric shapes. Pencils allow for shading and gradients, which makes the finished page look more like a piece of art than a quick sketch. Our mandala and space categories are filled with these types of intricate designs that require a sharp point and a steady hand. Pencils also do not bleed through the paper, so you can use standard 20lb printer paper without worrying about the desk underneath.
If you want to try something even more detailed, our photo-to-coloring-page tool can turn a family photo into a custom outline. When you are coloring a person's face or a pet's fur, you need the fine control of a pencil to get the textures right. Pencils come in different hardness levels, but for general coloring, a standard set of 12 or 24 soft-core pencils is best. They lay down color easily without requiring the child to press down so hard that they rip the page. We find that older kids prefer this because it feels more professional and less like a baby activity. It also makes it easier to fix mistakes with a good eraser, which is something you just cannot do with markers or crayons.
The Ultimate Art Supply Kit
You open the supply drawer and find a tangled mess of broken leads, dried glue sticks, and scrap paper. To keep the focus on the art, you need a dedicated kit that stays organized and ready for a rainy afternoon. A plastic bin with a handle is the best way to store these items so they can be moved from the kitchen table to the living room floor easily. Having a set place for every tool encourages kids to clean up after themselves, especially if they know that their favorite "Print PDF" designs are waiting for them in a separate folder.
When you organize the bin, put the most used items like the black markers and common crayon colors in the front. You might want to include a small towel for wiping off hands or the table if things get a bit messy. A dedicated sharpener with a reservoir is a must because it prevents pencil shavings from ending up in the carpet or on the sofa. By keeping the supplies in one place, you remove the barrier to starting a creative project, making it easy for a child to grab a page and get to work without asking for help every two minutes.
- 24-pack of pre-sharpened colored pencils
- Manual pencil sharpener with a built-in shavings reservoir
- Box of 8 or 12 washable broad-tip markers
- Set of jumbo triangular crayons for younger hands
- A sturdy clipboard for coloring on the go
- A small stack of Letter or A4 paper in a protective sleeve
- Two or three high-quality white erasers

Customizing the Coloring Experience
A child sits down and sees a page with the child's own name on it sitting right on top of the pile. Their eyes light up because this isn't just any random drawing; it is something made specifically for them. You can do this using our homepage generator, which takes any sentence and turns it into a black-and-white coloring sheet. It is a great way to encourage literacy while they play. You get three pages for free right away, and a free account comes with three credits to test it out. If you find that the kids want to make pages for all their friends, 50 credits only cost $2.99 once, which is a small price for a whole afternoon of custom entertainment.
The generator is also perfect for making signs for bedroom doors or personalized birthday cards. Since the PDF is already sized for Letter and A4 paper, you do not have to mess with printer settings or scaling. You just hit the button and go. We see a lot of teachers use this to make name tags for desks or special rewards for students who finished their work early. When a child sees their own name surrounded by stars or flowers, they take more pride in their work. They tend to spend more time choosing the right colors and staying inside the lines because the page feels personal and valuable to them.
Saving and Organizing Finished Work
You find a drawing of a fire truck with its ladder up crumpled at the bottom of a backpack. This is the fate of many great artworks because paper is fragile and kids are often in a hurry to get to the next thing. We recommend using a simple three-ring binder with clear plastic sleeves to save the best work. This turns a collection of loose sheets into a book that the child can flip through later. It also protects the pages from spills and dust. You can organize the binder by our site categories, like dinosaurs, unicorns, or Christmas, so the child can easily find their favorite a T-Rex standing near a volcano or a holiday scene they finished last month.
Folders with pockets are okay, but they often lead to bent corners and torn edges. A binder allows the pages to lie flat, which is better for showing off the work to grandparents or friends. If you want to keep a digital copy, you can always use the JPEG download option from our site to save the original file on your computer. This way, if the physical page ever gets lost or ruined, you can print a fresh copy in seconds. Having a physical archive of their coloring journey shows the child that you value their effort and time. It turns a simple afternoon activity into a long-term hobby that builds their confidence and fine motor skills.
Ready to Create Your Own?
Describe any idea and get a free, printable coloring page in seconds.
Try the Coloring Page GeneratorLook through your current art supplies and throw away any markers that do not have caps or crayons that are too small to hold. Pick out five of your favorite designs from our gallery and print them on a fresh stack of paper. Grab a box of pencils and sit down to color the first page together.