
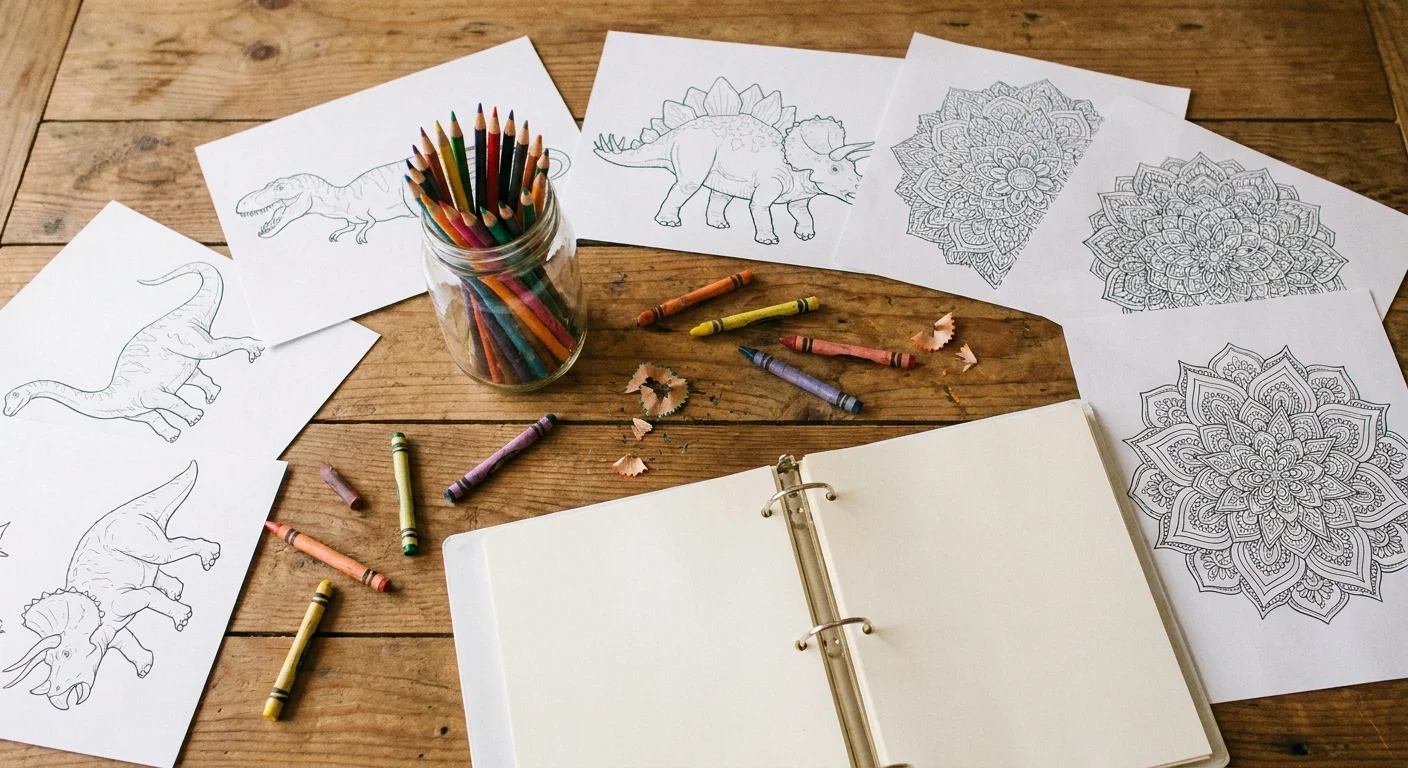
A stack of one hundred printed pages sits on the kitchen table next to a jar of sharpened pencils. This collection of resources helps you turn a quiet afternoon into a deep exploration of history, science, and math. We have built this guide to show you how to use our gallery of over four thousand two hundred free printable coloring pages to support your daily lessons.
Using Dinosaurs for Science Lessons
A triceratops standing near a fern has three sharp horns and a wide frill. You can print this page out using the Print PDF button that is already sized for Letter and A4 paper so you do not have to mess with printer settings. While you read a book about the Cretaceous period, the child colors the thick legs and the pebbled skin of the beast. This keeps their hands busy so their ears can actually hear the facts about fossils and extinction. It is better to have a specific animal than a generic cartoon because it looks more like the drawings in their science textbook. You can talk about why the horns are pointed or why the frill is so large. The child might choose a dark green for the ferns and a dusty brown for the dinosaur. They can press hard on the crayons to make the shadows under the belly or light for the top of the back where the sun hits. This kind of detail helps them remember that dinosaurs were real animals that actually walked on the earth.
Using these pages for science changes the way a kid looks at an image. Instead of just filling in space, they are looking at the anatomy of a creature. We have a whole category for dinosaurs that includes long-necked giants and meat-eaters with tiny arms. You can print a whole stack of them to make a timeline of the earth. It is a simple way to turn a lecture into an activity that lasts for the whole chapter. You can even have them label the parts of the dinosaur after they finish coloring the scales and the tail. They can draw a sun in the corner or some volcanoes in the distance to complete the prehistoric scene. This makes the lesson feel more like a project they are building themselves. It is much more effective than just looking at a screen because they are physically engaging with the shapes of the prehistoric world. When they are done, the page goes into their science folder as a record of what they studied that day.
Literacy and Name Recognition Activities
A page with the child's own name on it sits on the clipboard ready for the morning lesson. You used the homepage generator to type in their name and turn it into a black-and-white outline. They get three of these pages for free before they need an account. If they want to do their whole family or a list of spelling words, a free account comes with three more credits. After that, fifty credits cost two dollars and ninety-nine cents once, which is a small price for weeks of spelling practice. They see the tall letters and the short letters and they start to recognize the curves and lines that make up their identity. This is better than a standard tracing sheet because the letters are big and open. They can decorate the inside of each letter with polka dots or stripes. It makes the alphabet feel like a toy rather than a chore. They might use a blue crayon for the first letter and a yellow one for the rest to learn about capitalization.
When a child colors their own name, they are building a connection to the alphabet. They follow the curve of the S or the straight line of the T with their crayon. This helps them later when they pick up a pencil to write the letters themselves. We recommend doing this for new vocabulary words too. You can type oxygen or gravity into the generator and let them color the words while you explain the concept. It makes the word look less scary and more familiar. They can hang the finished page on their bedroom door or the refrigerator. It turns a boring spelling list into a piece of art they are proud to show off. You can even have them color the vowels one color and the consonants another to help them understand how words are built. This repetition is the key to reading, and doing it through art makes it much less frustrating for a young student. They can spend twenty minutes on a single word, which gives the brain plenty of time to process the spelling.
Community Helpers and History Subjects
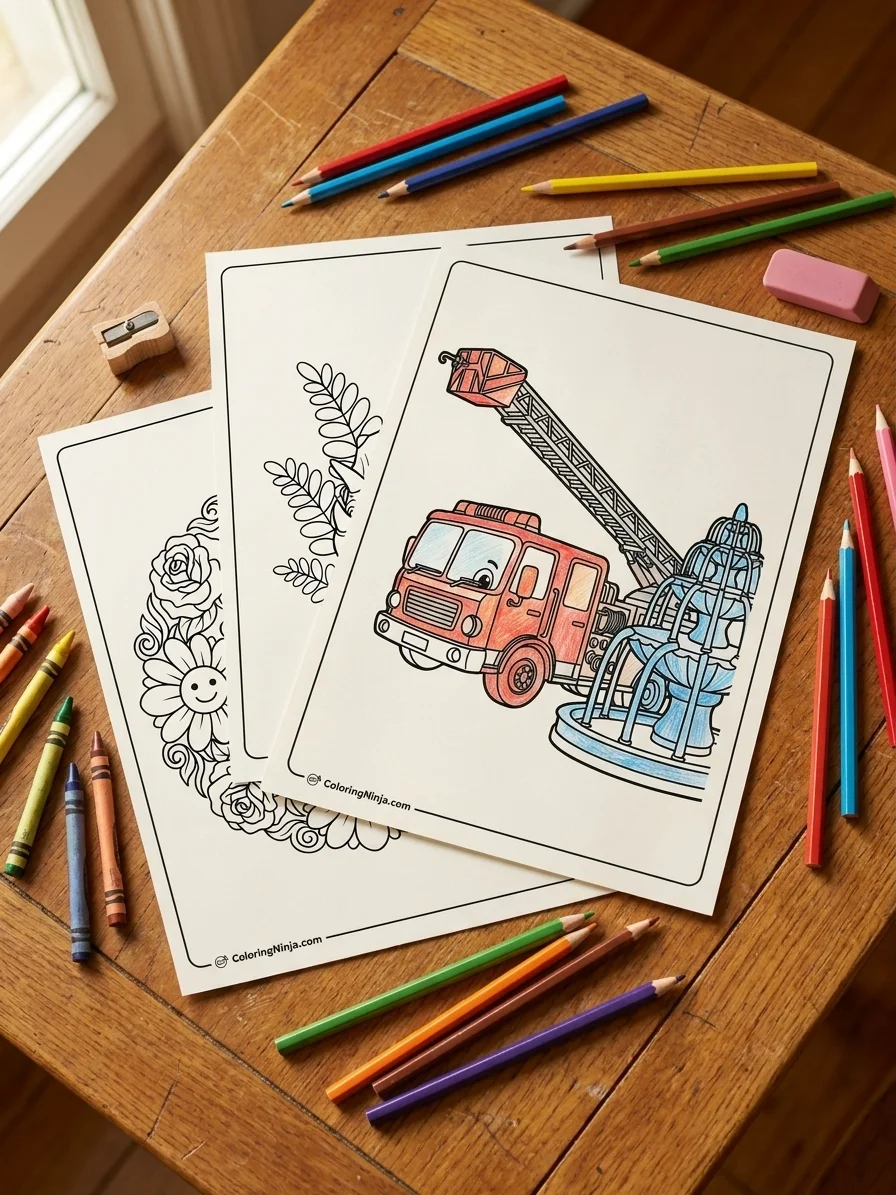
A fire truck with its ladder up has tiny wheels, a long hose, and a bell on the front. This page helps when you talk about people who help the town. You can find it in the categories along with things like space or unicorns. We think it is better to use the JPEG download if you want to put the image into a digital worksheet you are making for a social studies unit. If you just want to get started right away, the PDF button is faster. You can talk about how the ladder reaches high windows while they pick out a bright red crayon. They can draw a firefighter standing next to the truck or a dalmatian sitting in the driver's seat. It is a good way to start a conversation about safety and what to do if there is an emergency in the neighborhood. They can color the flashing lights and the silver equipment stored on the side of the truck.
History lessons often feel like a long list of dates and names that are hard to remember. If you are teaching about the first Thanksgiving or the history of winter festivals, the christmas and halloween categories are very useful. You can find a carved pumpkin with a jagged grin or a sled filled with wrapped gifts. These pages give the child something to look at while you tell stories about how people lived a hundred years ago. It is easier to talk about the harvest when they are coloring a basket of corn and pumpkins. They can use orange, yellow, and deep red to make the scene look like a crisp autumn day. This makes the history feel like a real story rather than a chore. You can ask them to imagine what it was like to cook over a fire or travel by horse while they color the wooden wheels of a old wagon. By the time they finish the page, they have a visual anchor for the historical facts you just shared. It transforms a lecture into a shared storytelling moment.
Math Patterns and Geometric Shapes
A floral mandala has circles inside of circles and petals that repeat all the way around the center. This is not just an art project. It is a lesson in symmetry and patterns which is the foundation of early math. You can tell them to color every third petal blue or make the left side mirror the right side. We suggest using fine-tip markers for these because the lines are close together and require a steady hand. It takes a long time to finish one, which is perfect for those afternoons when you need thirty minutes of quiet to grade papers or fold laundry. The repetition of the shapes helps a child understand how numbers work in sequences. They start to see that math is not just about numbers on a screen, but about how things fit together in the world. They can use a sequence of colors like red, blue, and yellow to reinforce the idea of patterns.
We recommend mandalas for older kids who might think regular coloring pages are for babies. The designs are complex and require a lot of focus to stay inside the lines. You can talk about the radius and diameter of the circles while they work. If they make a mistake and use the wrong color, they have to figure out how to balance the pattern on the other side. This teaches problem-solving and spatial awareness. You can find these in our mandala category, which is one of the most popular sections for teachers. It is a great way to end a math lesson on a calm note. They can use neon colors to make it pop or soft pastels for a more relaxed look. Some kids like to use metallic pens to make the petals look like they are made of gold or silver. This turns a geometry lesson into a piece of professional-looking art. It shows them that the rules of math can create something beautiful and balanced.
Nature Studies and Local Wildlife
A fox, a stream, acorns everywhere on a page helps a child visualize a forest ecosystem. You can find these in the animals or flowers categories of our gallery. If you want to do a nature study of your own neighborhood, the photo-to-coloring-page tool is the best choice. You take a photo of a robin on a branch or a dandelion in the grass and upload it. The tool traces the edges so your child can color the exact plant they saw outside. This connects the digital world to the dirt and grass in their own backyard. They can try to match the colors of the bird's feathers or the green of the moss on a rock. It turns a simple walk in the park into a research mission for their next art project. They can look at the photo on the screen and then try to replicate the shading on their paper.
Nature studies are about observation, and coloring requires a child to look closely at details. They have to decide where the light is coming from and which parts of the leaf are darker. We have more than four thousand two hundred free printable coloring pages, so you can find almost any animal you are looking for. You could print a shark for a lesson on the ocean or a butterfly for a lesson on life cycles. It is better to use these as a supplement to real-world observation. Let them color the animal after they have seen a video of it or read a book about its habitat. This solidifies the image in their mind and makes the facts stick. You can have them draw the food the animal eats in the empty white space around the main drawing. This helps them understand the concept of a food chain. They can even write a few sentences at the bottom of the page about what the animal does during the winter. It turns a simple coloring activity into a full science report.
Essential Supplies for Your Station
A messy desk covered in crayon wax and paper scraps can make a homeschool day feel chaotic. You need a specific set of tools to make the most of these pages. We suggest keeping a stack of fresh paper right next to the printer so you never run out in the middle of a lesson. It is also a good idea to have a dedicated box for works in progress so half-finished pages do not get lost or crumpled. A good sharpener is the most important tool you can own because dull pencils lead to frustration and torn paper. You want your child to focus on the history or the science, not on a broken lead. Having a clean space to work makes the transition from reading to coloring much easier for everyone involved.
If you want to keep the finished work, a three-ring binder is the best way to go. You can organize the pages by subject, like science, history, and art. This creates a visual record of everything the child has learned over the year. It is much more satisfying to flip through a full binder than to look at a folder of digital files. You can even let the child design their own cover page. This gives them a sense of ownership over their schoolwork. Having the right supplies ready to go means you can print a page the moment a child asks a question about a volcano or a tiger. It makes your homeschool day run smoother when the tools are already in place. You will find that having a physical portfolio of their work boosts their confidence as they see the binder get thicker each month.
- Heavy-duty paper (24lb or higher)
- Three-ring binder
- Set of 24 colored pencils
- Electric pencil sharpener
- Fine-tip markers
- Three-hole punch
Ready to Create Your Own?
Describe any idea and get a free, printable coloring page in seconds.
Try the Coloring Page GeneratorPick one subject your child is studying this week and find a matching page in our gallery. Print it out on heavy paper and set it on their desk before the next lesson begins.