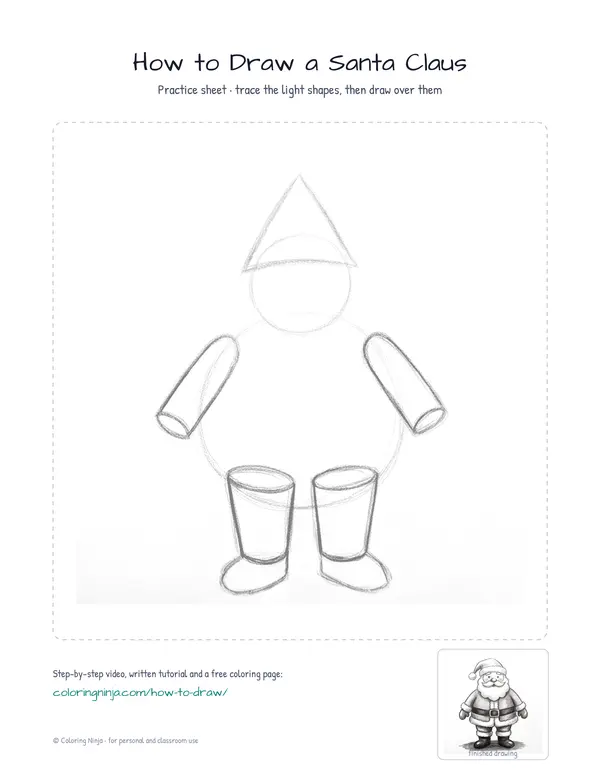
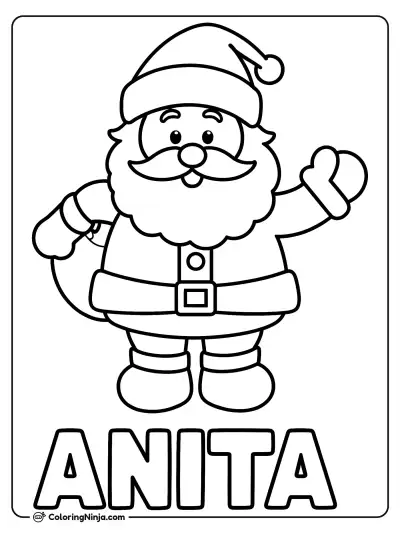
Santa Claus is built from rounded shapes to show his weight and soft clothing. The beard covers much of the torso, so the face starts high on the head. You will finish with a shaded figure that looks solid and soft.
The secret to a jolly Santa: soft shapes
Santa Claus is traditionally depicted as a stout man with a long white beard and a red suit with white fur trim. His belt sits low on his belly, and his boots are thick for walking in snow.
What you need
- 2B graphite pencil
- 4B or 6B graphite pencil for the darkest shadows
- Blue col-erase pencil for the construction lines
- Kneaded eraser
- Cream or white drawing paper
The 9 steps
Light comes from the upper left in every step. Each picture shows the drawing as it should look when that step is done.

Step 1: Basic body shapes
Use the blue col-erase pencil to draw a small circle for the head and a large oval for the body.
Common mistake: Beginners often make the head too large; keep the body oval at least three times the size of the head.

Step 2: Limbs and hat
Sketch cylinders for the arms and legs and a floppy triangle for the hat using the blue pencil.
Common mistake: Do not make the limbs too thin or the figure will look weak instead of sturdy.

Step 3: Face and beard outline
Switch to the 2B pencil to draw the nose, eyes, and the wavy outline of the beard over the blue lines.
Common mistake: Avoid drawing individual hairs yet; focus on the overall shape of the beard first.

Step 4: Suit and hat brim
Use the 2B pencil to outline the hat brim, the pom-pom, the coat opening, and a wide belt across the middle.
Common mistake: If the belt is too high, it hides the belly; place it near the bottom of the torso oval.

Step 5: Mittens and boots
Draw the mittens and boots with the 2B pencil, adding bumpy lines for the fur trim on the sleeves and coat hem.
Common mistake: Do not draw straight lines for fur; use small, irregular curves to suggest softness.

Step 6: Mustache and buckle
Add a thick mustache under the nose and a square buckle on the belt with the 2B pencil.
Common mistake: Keep the mustache wide so it connects to the beard on the sides.

Step 7: Block in shadows
Switch to the 4B pencil and lightly shade the right side of the entire figure to establish the shadow side.
Common mistake: Avoid shading the whole drawing; leave the left side white to show where the light hits.

Step 8: Darkest darks
Use the 6B pencil to darken the boots, the belt, and the shadows directly under the beard and arms.
Common mistake: Pressing too hard everywhere will lose the form; only use the 6B in the darkest corners.

Step 9: Cast shadow and highlights
Draw a flat shadow on the ground with the 6B pencil and use the kneaded eraser to lift highlights on the nose.
Common mistake: Forgetting the cast shadow makes the character look like he is floating.
What makes it look right
- Keep the beard shapes rounded and soft to contrast with the dark belt and boots.
- Leave the fur trim and beard mostly white, using only very light shading to show depth.
- Ensure the boots are large enough to support the weight of the large body oval.
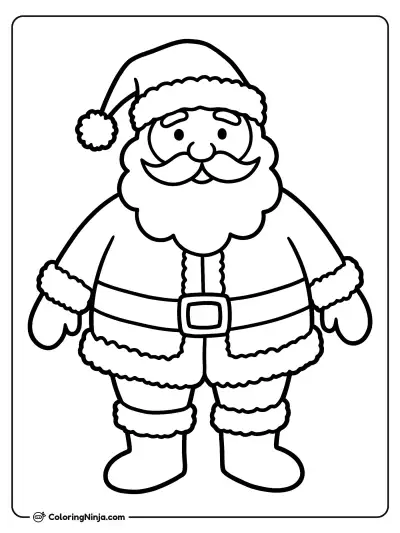
Get the finished coloring page
The clean outline from step 6, ready to print and colour.
View the coloring pageThe whole lesson on one sheet
All 9 steps with their captions on one page. Print it and keep it next to your paper.

The drawing is now complete with a solid sense of form and texture. Try drawing a sack of toys next to him using similar rounded shapes.