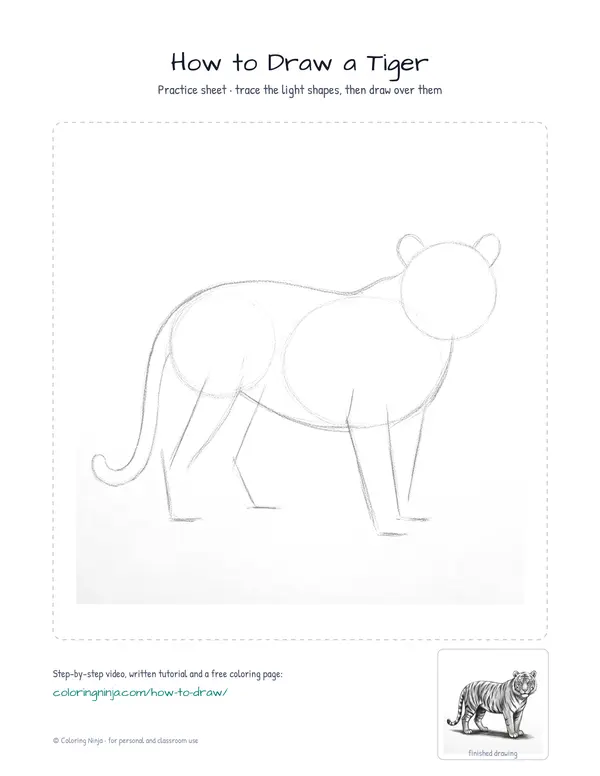
Drawing a tiger starts with understanding its heavy frame and powerful shoulders. Beginners often struggle with the stripe patterns, but these should follow the shape of the muscles. You will end up with a tiger standing on the ground.
The heavy shoulders of a tiger
Tigers are the largest cats in the world and have unique stripe patterns. Their front legs and shoulders are very muscular to help them jump and hunt. A tiger's tail is long and helps it balance while turning quickly.
What you need
- 2B graphite pencil
- 4B or 6B graphite pencil for the darkest shadows
- Blue col-erase pencil for the construction lines
- Kneaded eraser
- Cream or white drawing paper
The 9 steps
Light comes from the upper left in every step. Each picture shows the drawing as it should look when that step is done.

Step 1: Basic frame
Use the blue col-erase pencil to draw a large oval for the chest and a smaller circle for the head.
Common mistake: Beginners often make the head too large, so keep the chest oval twice as big as the head circle.

Step 2: Body length
Draw a second oval for the rear and connect it to the chest with a curved line for the back.
Common mistake: A common mistake is drawing the back perfectly straight, but it should have a slight dip between the shoulders and hips.

Step 3: Leg and tail guides
Add four simple lines for the legs and a long, thick curve for the tail using the blue pencil.
Common mistake: Do not make the legs too short or the tiger will look like a house cat.

Step 4: Body outline
Switch to the 2B pencil to draw the final outline of the body, legs, and ears over the blue shapes.
Common mistake: Avoid drawing hairy lines and instead use long, smooth strokes for the outer contour.

Step 5: Facial features
Use the 2B pencil to add the eyes, nose, and the small shapes of the snout.
Common mistake: Beginners often place the eyes too high, so put them on the middle horizontal line of the head.

Step 6: Stripe patterns
Add the stripe pattern across the face, body, and tail with the 2B pencil.
Common mistake: Do not make the stripes perfectly straight or even, as they should curve with the body.

Step 7: Shadow block-in
Switch to the 4B pencil to shade the right side of the tiger and the underside of the belly.
Common mistake: Avoid shading the entire tiger and only focus on the side away from the light.

Step 8: Darkest tones
Use the 6B pencil to make the stripes very dark and draw a shadow on the ground under the paws.
Common mistake: If you forget the cast shadow on the ground, the tiger will look like it is floating.

Step 9: Final highlights
Dab the kneaded eraser on the top of the head and back to lift highlights.
Common mistake: Do not scrub with the eraser, but gently tap it to lift the graphite for a clean highlight.
What makes it look right
- Keep the blue construction lines light so they are easy to ignore later.
- Vary the thickness of the stripes to make the fur look more natural.
- Look at the space between the legs to get the proportions right.
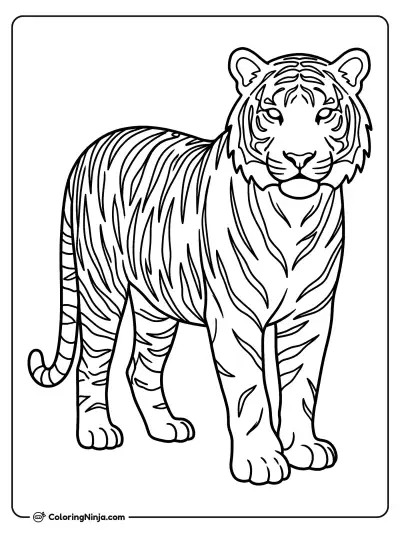
Get the finished coloring page
The clean outline from step 6, ready to print and colour.
View the coloring pageThe whole lesson on one sheet
All 9 steps with their captions on one page. Print it and keep it next to your paper.

Practice drawing the tiger in different poses like sitting or jumping. Try using different pencil pressures to create lighter or darker fur.